
How to Make Pom Poms: 4 Easy Methods
Learning how to make pom poms takes about five minutes and almost no gear. This guide covers four easy ways — with a pom pom maker, a fork, your fingers, or a scrap of cardboard — plus the part most tutorials skip: how to trim, fluff, and attach them so they come out full, round, and stay put on your hat.
Updated July 2026 · 8 min read
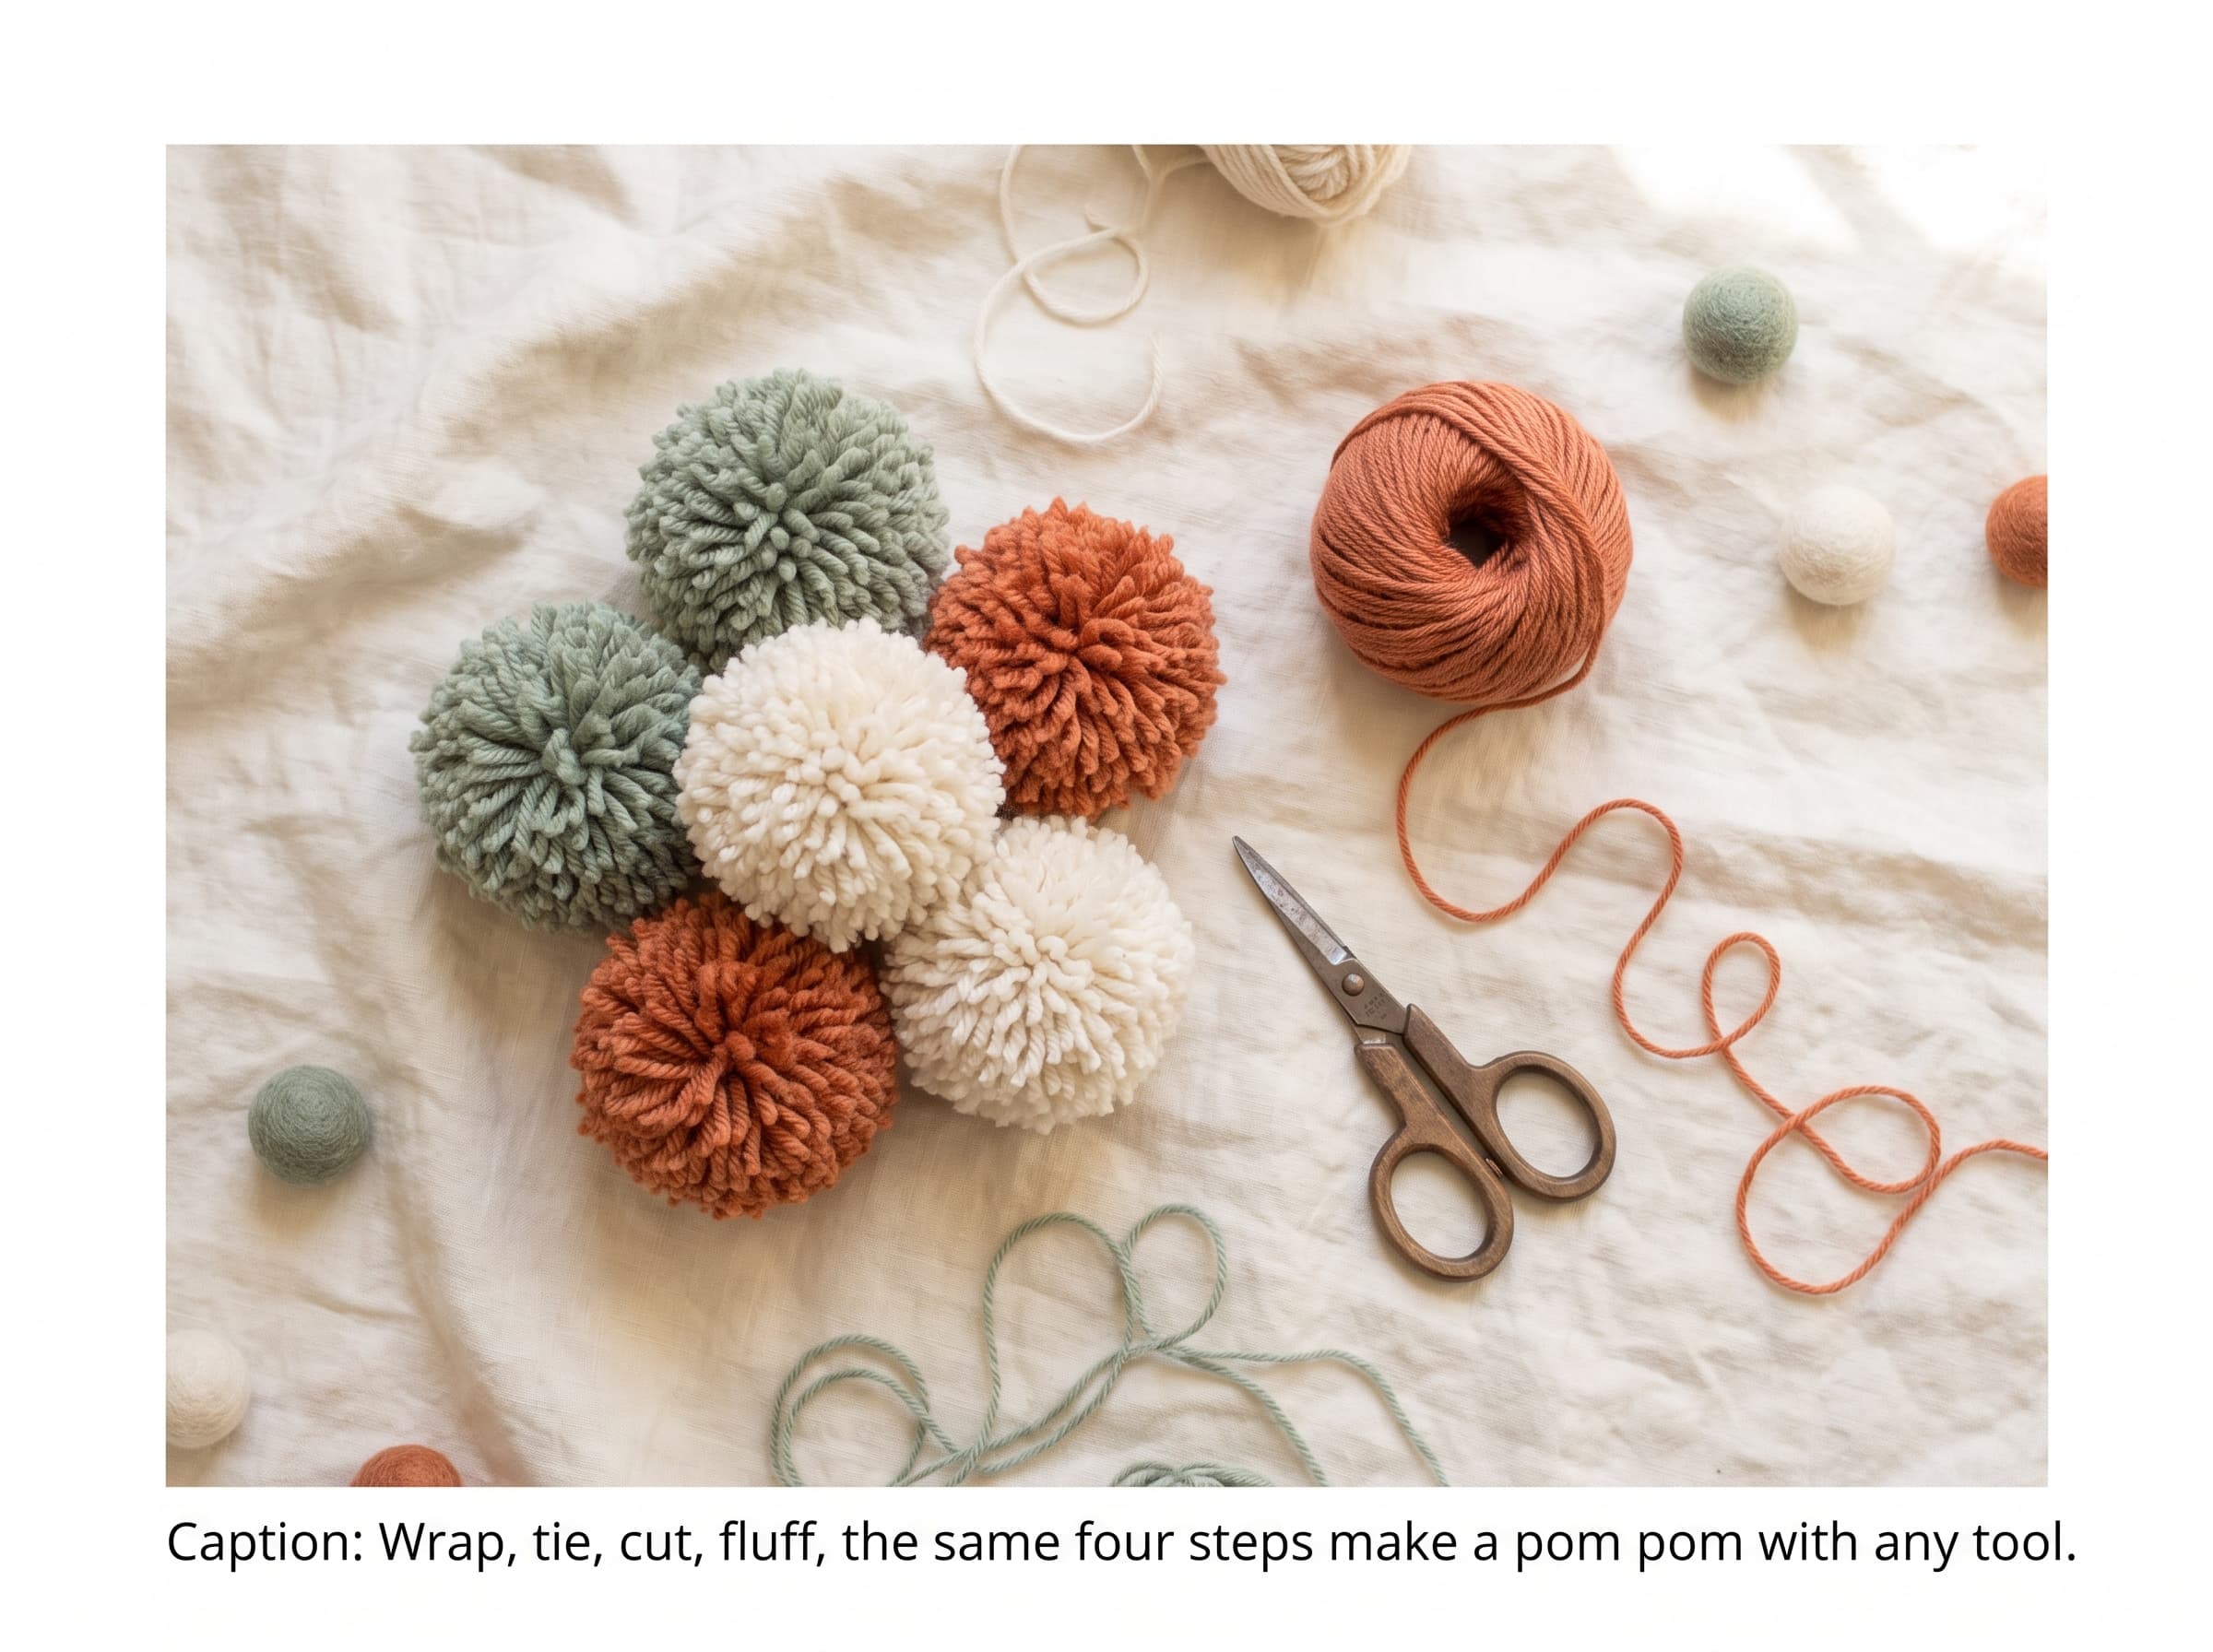
How to make a pom pom (quick overview)
To make a pom pom, wrap yarn many times around something (a pom pom maker, a fork, your fingers, or a piece of cardboard), tie a separate strand tightly around the middle, cut the loops open on both sides, then trim and fluff it into a ball. That's it — four steps, whatever tool you use.
Pom poms are one of those little crafts that look fiddly and turn out to be ridiculously easy. Once you've made one, you'll be topping every hat, bag, and keychain with them.
The best part: you don't need any special gear. A pom pom maker is handy, but a fork, your fingers, or a scrap of cardboard work just as well. Every method follows the same four moves:
- 1Wrap yarn around your tool, lots of times (more wraps = a fluffier pom).
- 2Tie a separate piece of yarn tightly around the center.
- 3Cut all the loops open around the edges.
- 4Trim & fluff into a neat, round ball.
Below, we'll walk through four waysto do it, so you can use whatever you've got on hand.
What you'll need
Barely anything — and you almost certainly own most of it already.
Always needed
- Yarn — any yarn works. Thicker yarn fluffs up fast; smooth yarn gives a crisper ball.
- Scissors — a sharp pair for clean cuts (sharp really helps here).
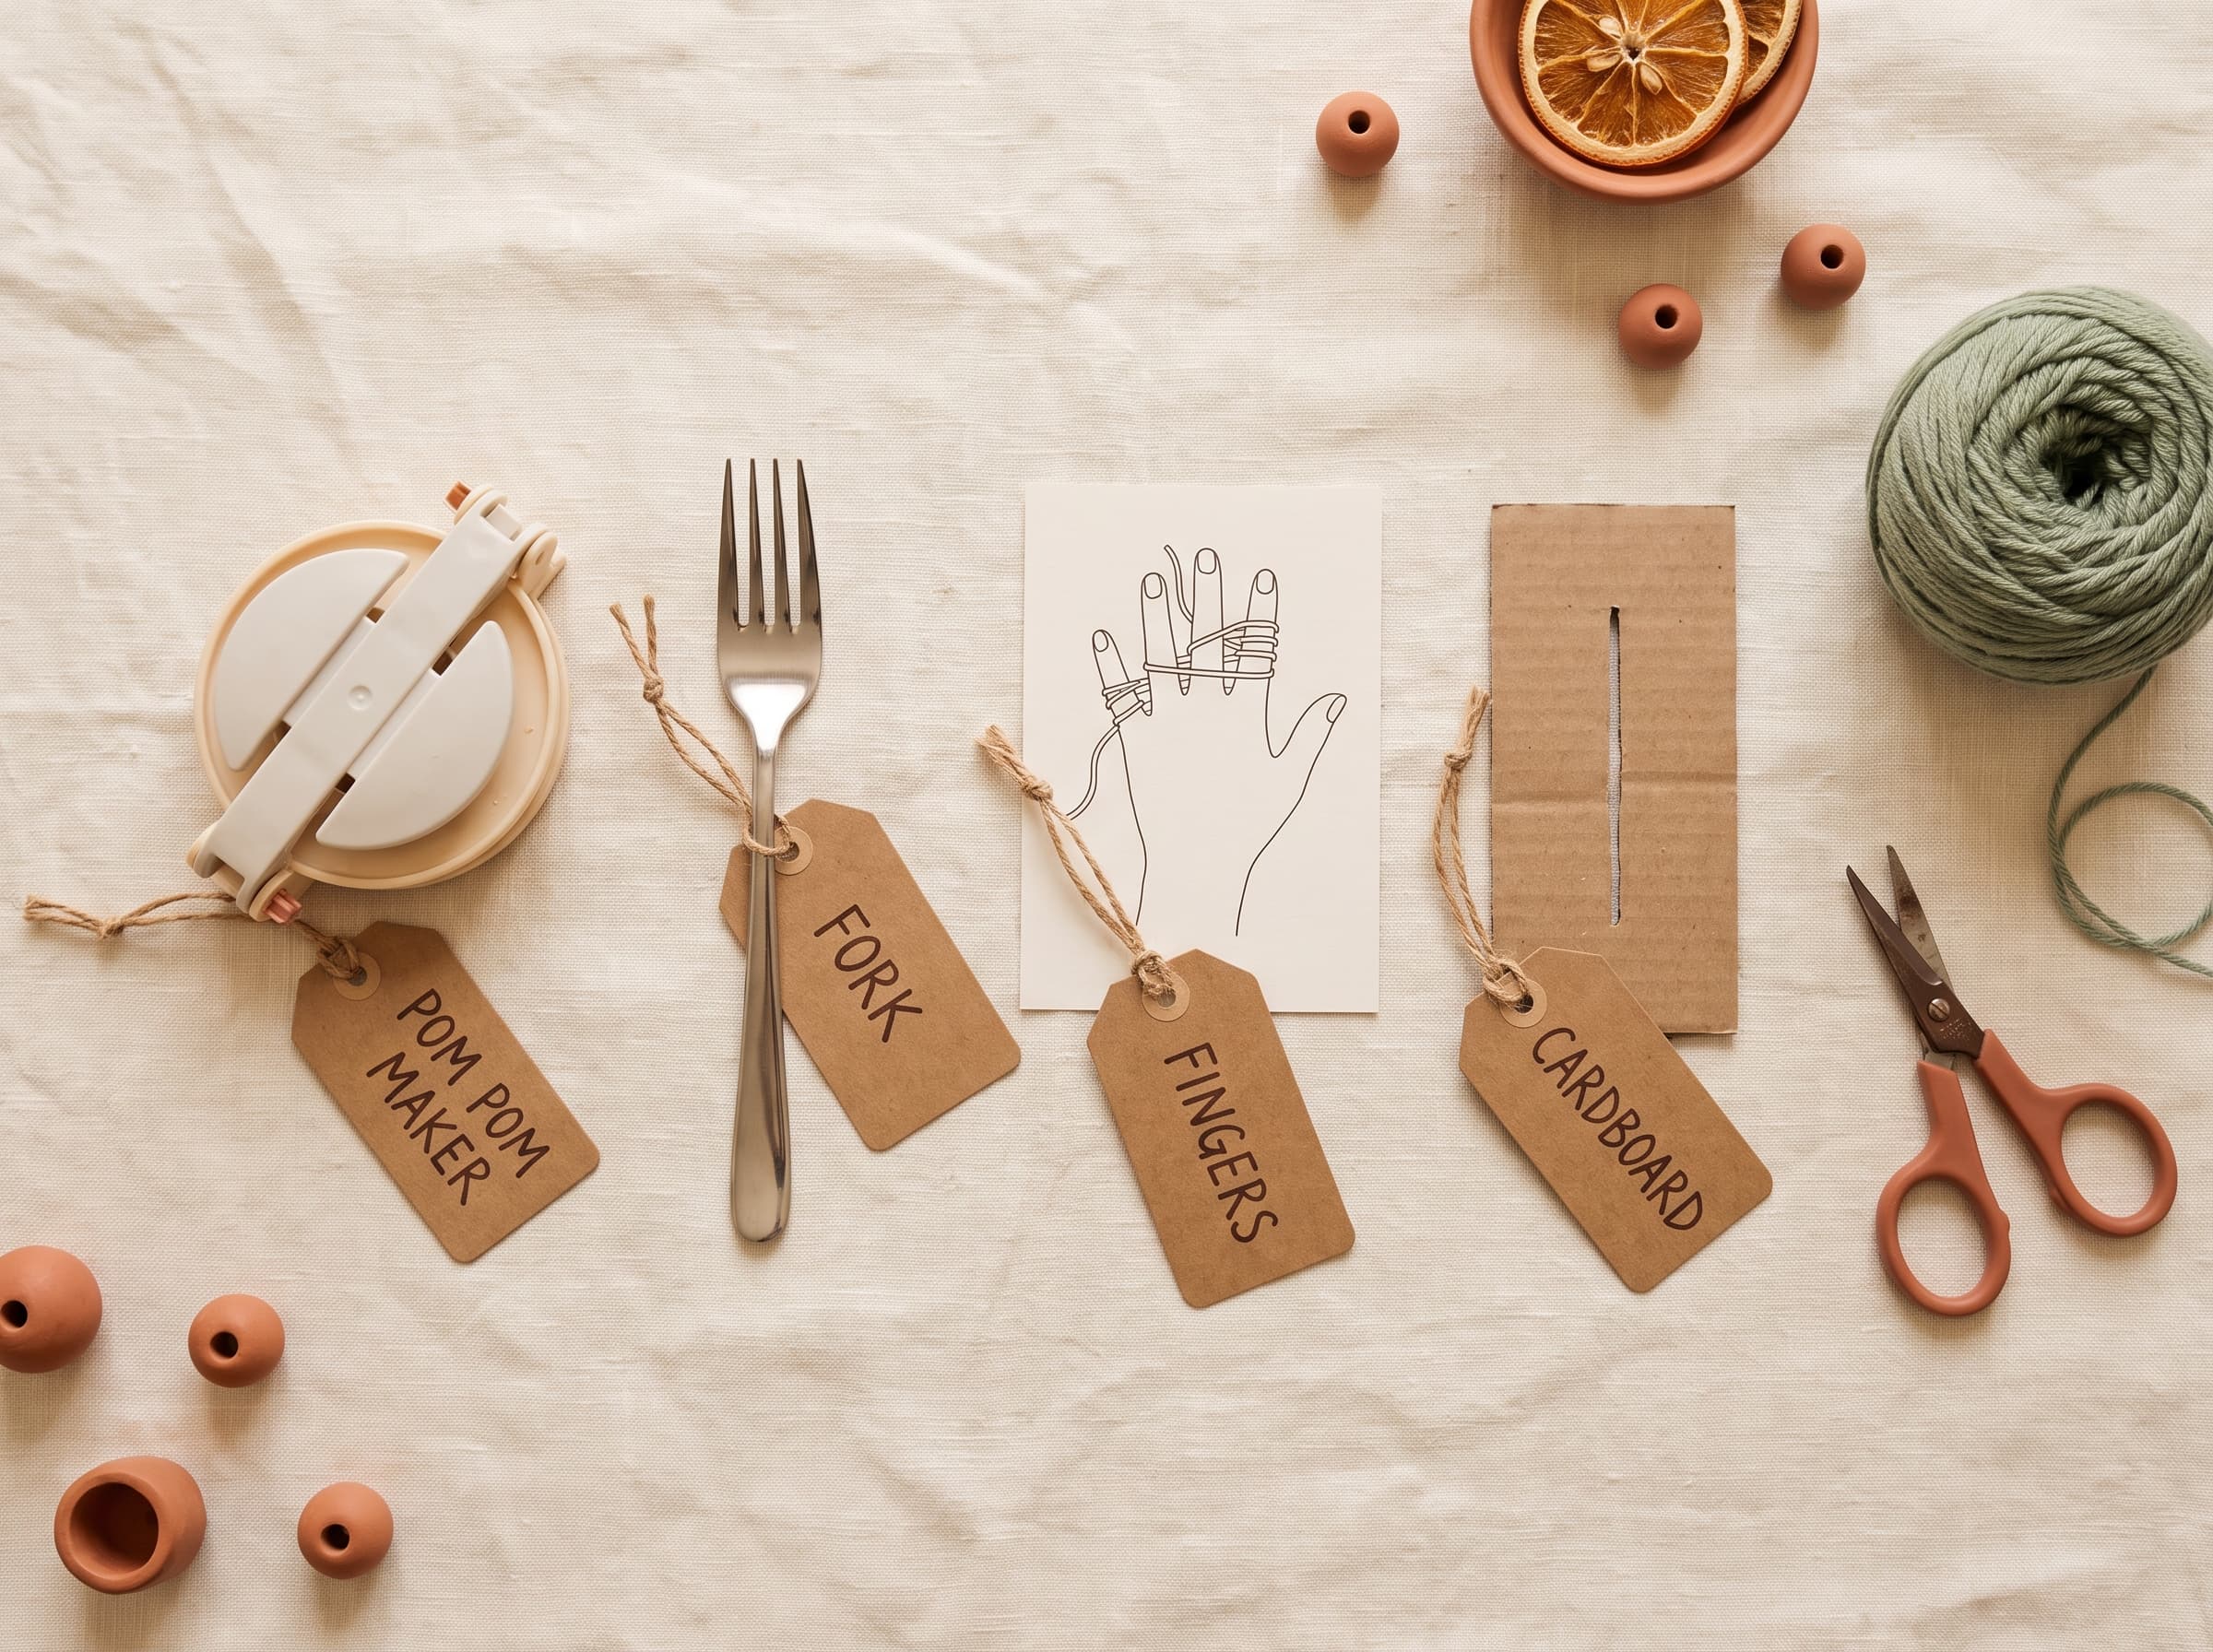
Pick one to wrap around (your “tool”)
- A pom pom maker — fastest and most consistent, especially for multiples.
- A fork — perfect for small pom poms.
- Your fingers — nothing to buy, great for quick or larger poms.
- Cardboard — cut it to any size for custom pom poms.
Method 1: Using a pom pom maker
Best forConsistent, fluffy pom poms — especially if you're making several.
A pom pom maker (those little plastic clover-shaped gadgets) is the easiest way to get a full, even pom pom every time. They come in different sizes for different pom poms.
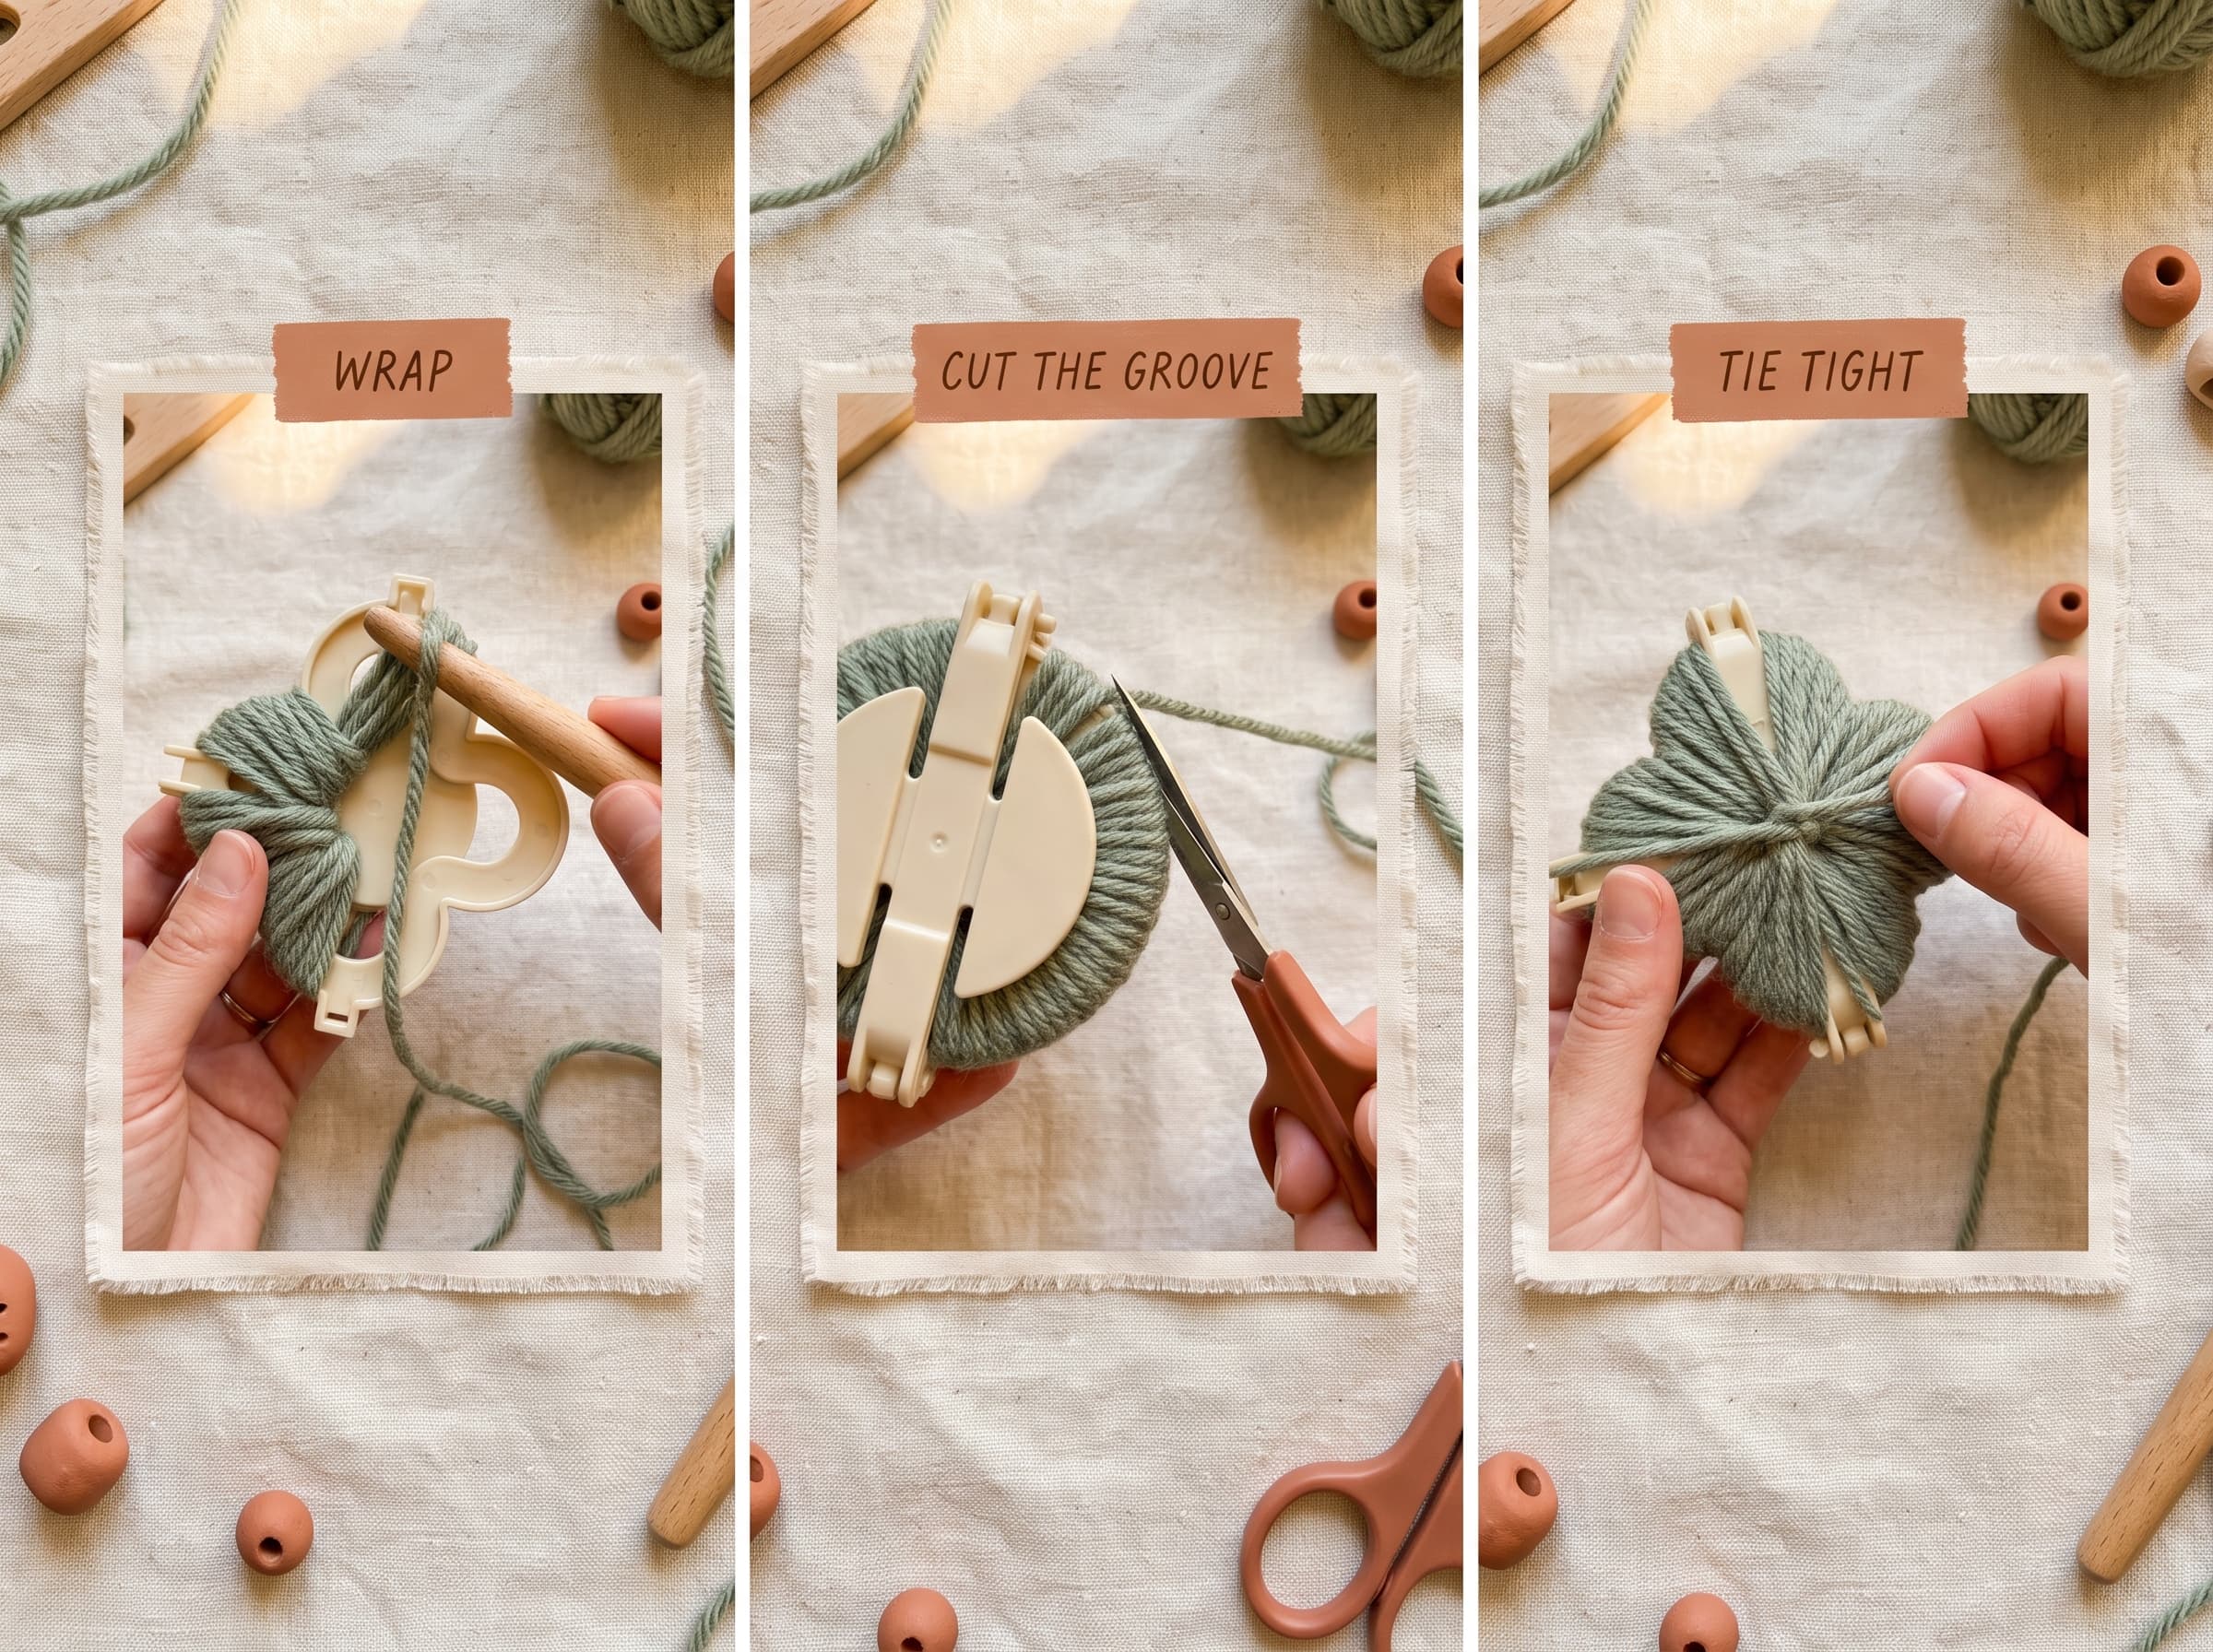
- 1Open both arms. A pom pom maker has two hinged arms — flip them both open.
- 2Wrap the first arm. Wind yarn evenly around one open arm until it's nicely full. More wraps = a denser, fluffier pom.
- 3Wrap the second arm the same way, then close both arms back together.
- 4Cut along the groove. Run your scissors through the slot around the outside edge, cutting all the loops.
- 5Tie the center tightly. Slip a length of yarn into the groove, wrap it around the middle, and knot it as tight as you can (this holds the whole pom together, so don't be gentle).
- 6Open the arms and release. Pull the two halves apart, slide the maker off, and you've got a pom pom, ready to trim and fluff.
New to pom pom makers? They're inexpensive and come in multi-size sets — a nice little addition once you're making pom poms often.
Method 2: Using a fork (small pom poms)
Best forTiny pom poms, and making one right now with zero special tools.
A regular dinner fork is the perfect size for little pom poms — the kind you'd put on a keychain, a baby hat, or a garland. It couldn't be simpler.
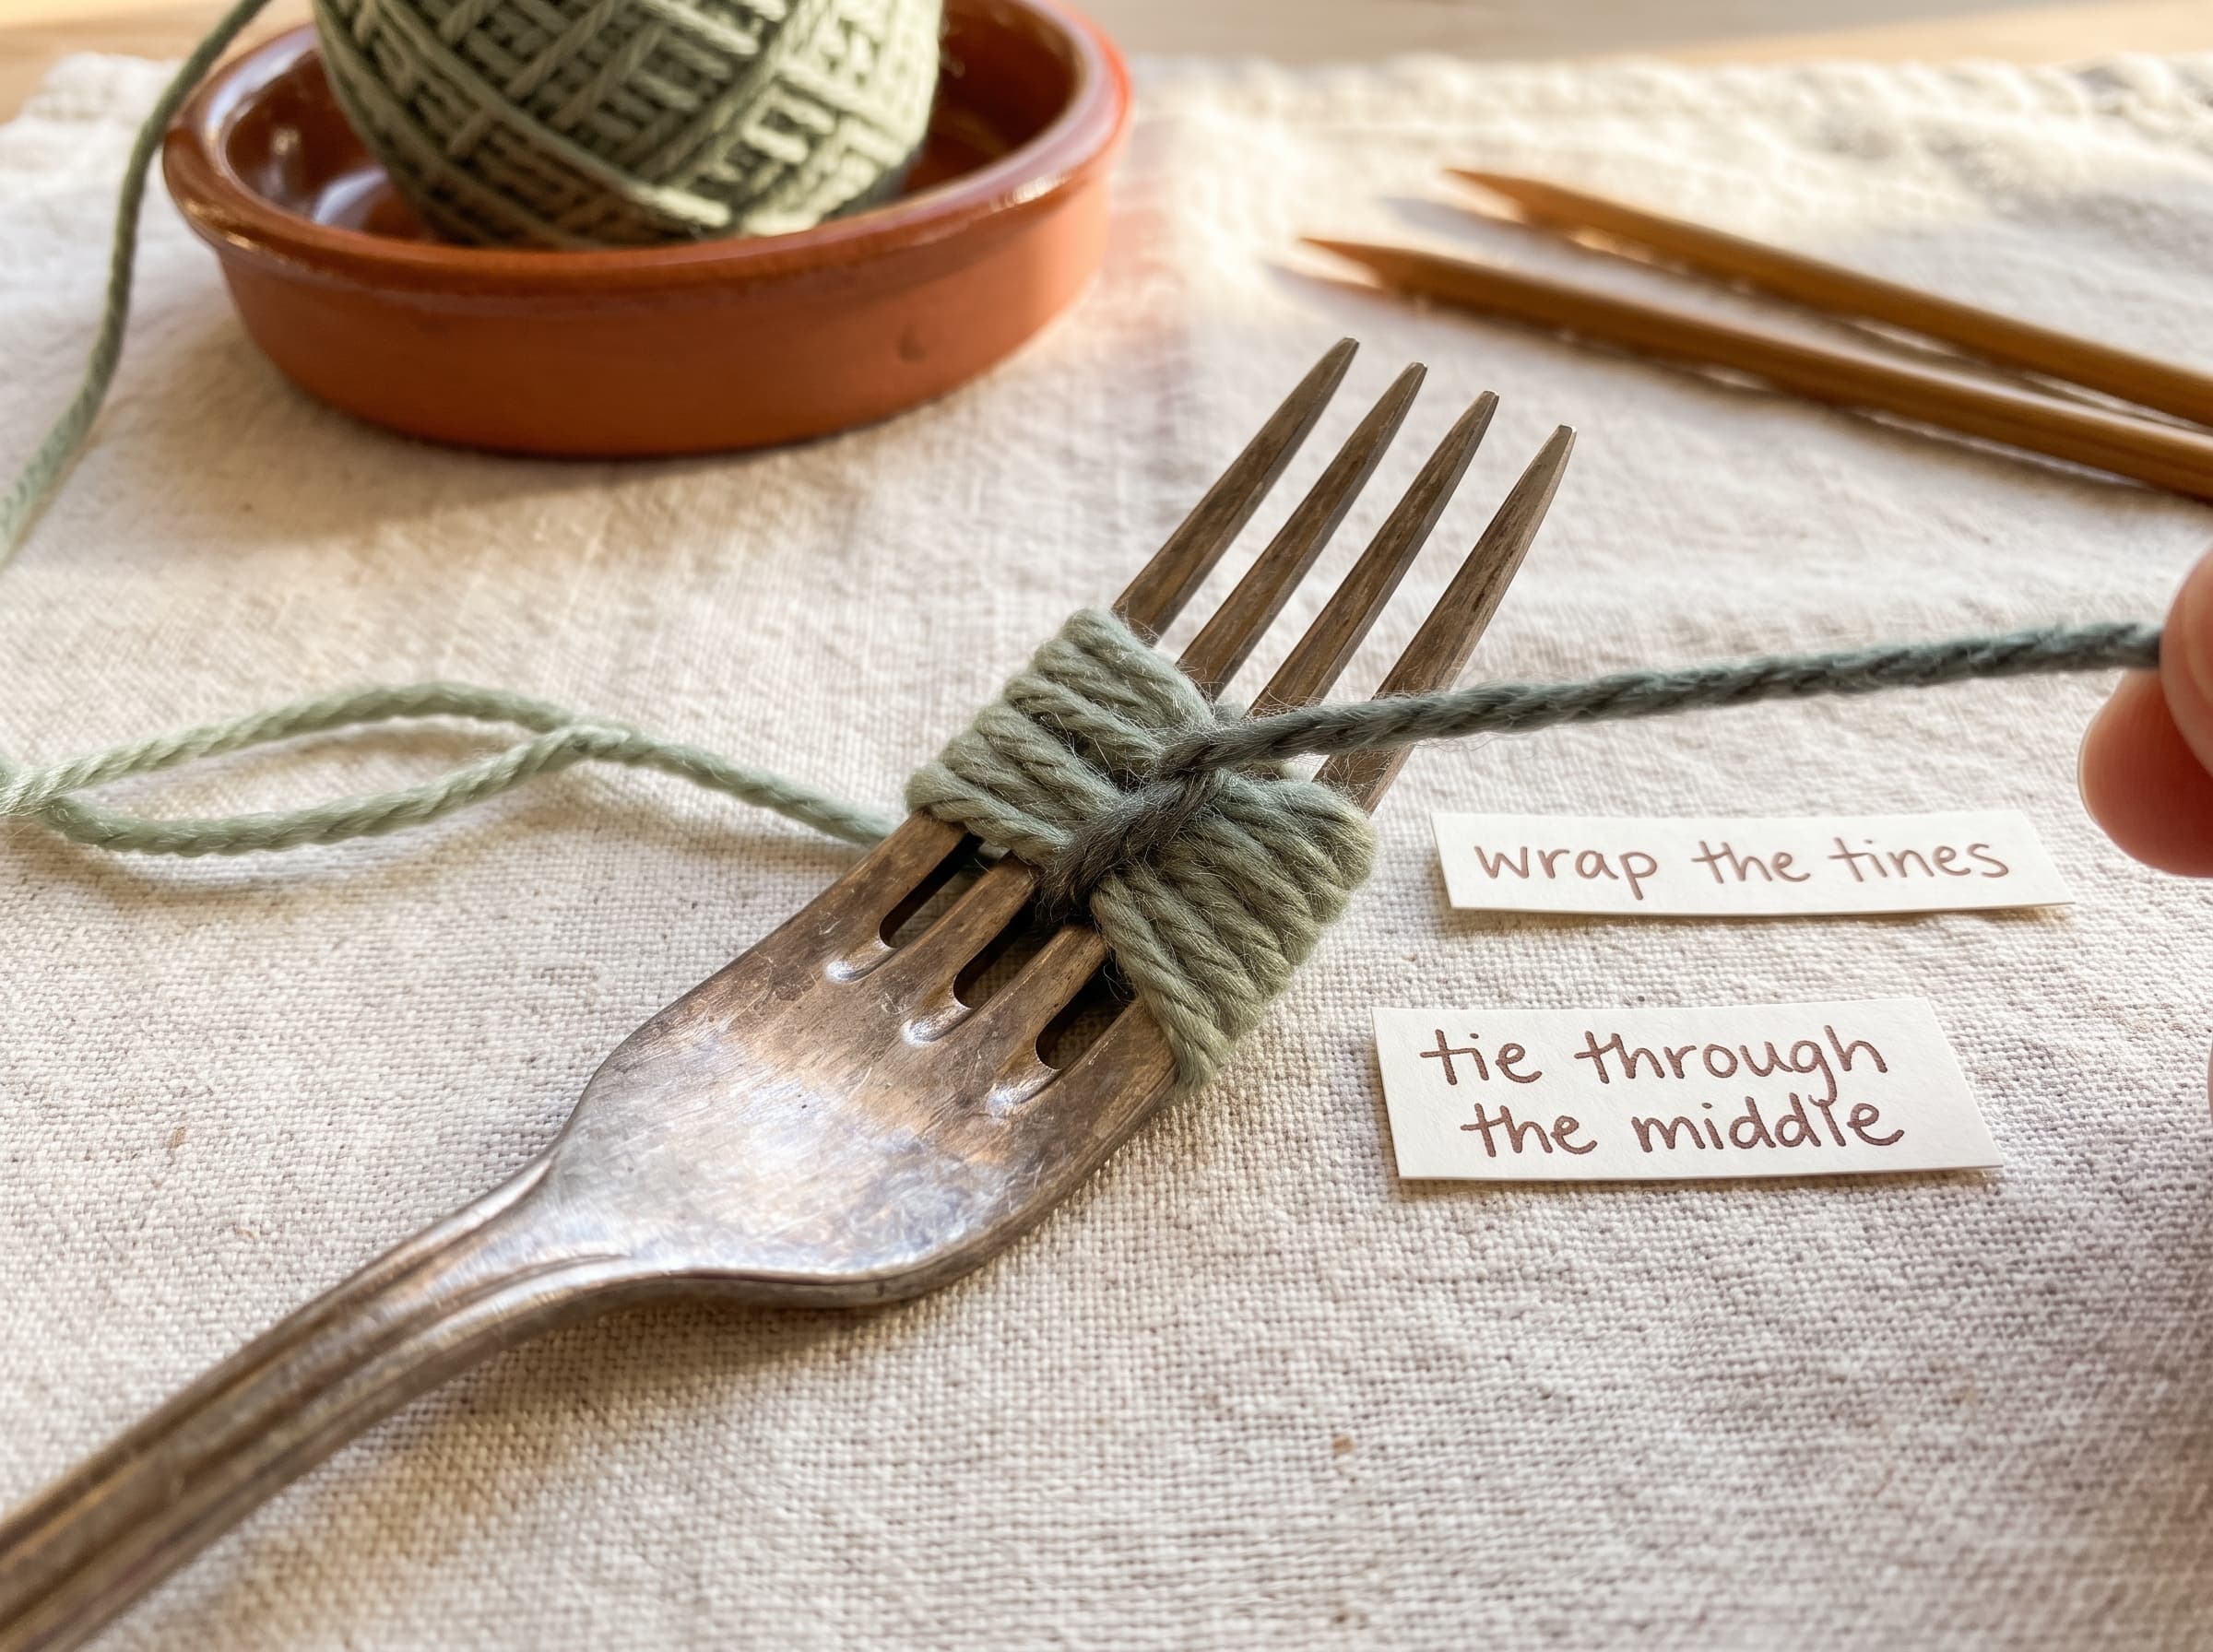
- 1Wrap the yarn around the fork. Wind it around all four tines, plenty of times — more wraps for a fuller pom.
- 2Thread a tie through the middle. Slide a separate length of yarn through the center gap between the two middle tines.
- 3Tie it tight. Pull that strand around the wrapped yarn and knot it hard in the center.
- 4Slide it off and cut the loops. Ease the bundle off the fork and snip open all the loops around both sides.
- 5Trim & fluff into a neat little ball.
Method 3: Using your fingers / hand
Best forZero tools at all, and quick, medium-to-large pom poms.
Your own hand is the only “tool” that's always with you. Wrap around a few fingers for a small pom, or your whole hand for a big fluffy one.
- 1Wrap around your fingers. Wind yarn around two to four fingers (more fingers = bigger pom), keeping the wraps loose enough to slide off later.
- 2Slide it off carefully. Gently ease the whole bundle off your fingers, keeping its loop shape.
- 3Tie the center. Wrap a separate strand tightly around the middle of the bundle and knot it hard.
- 4Cut the loops open on both ends.
- 5Trim & fluff into a round ball.
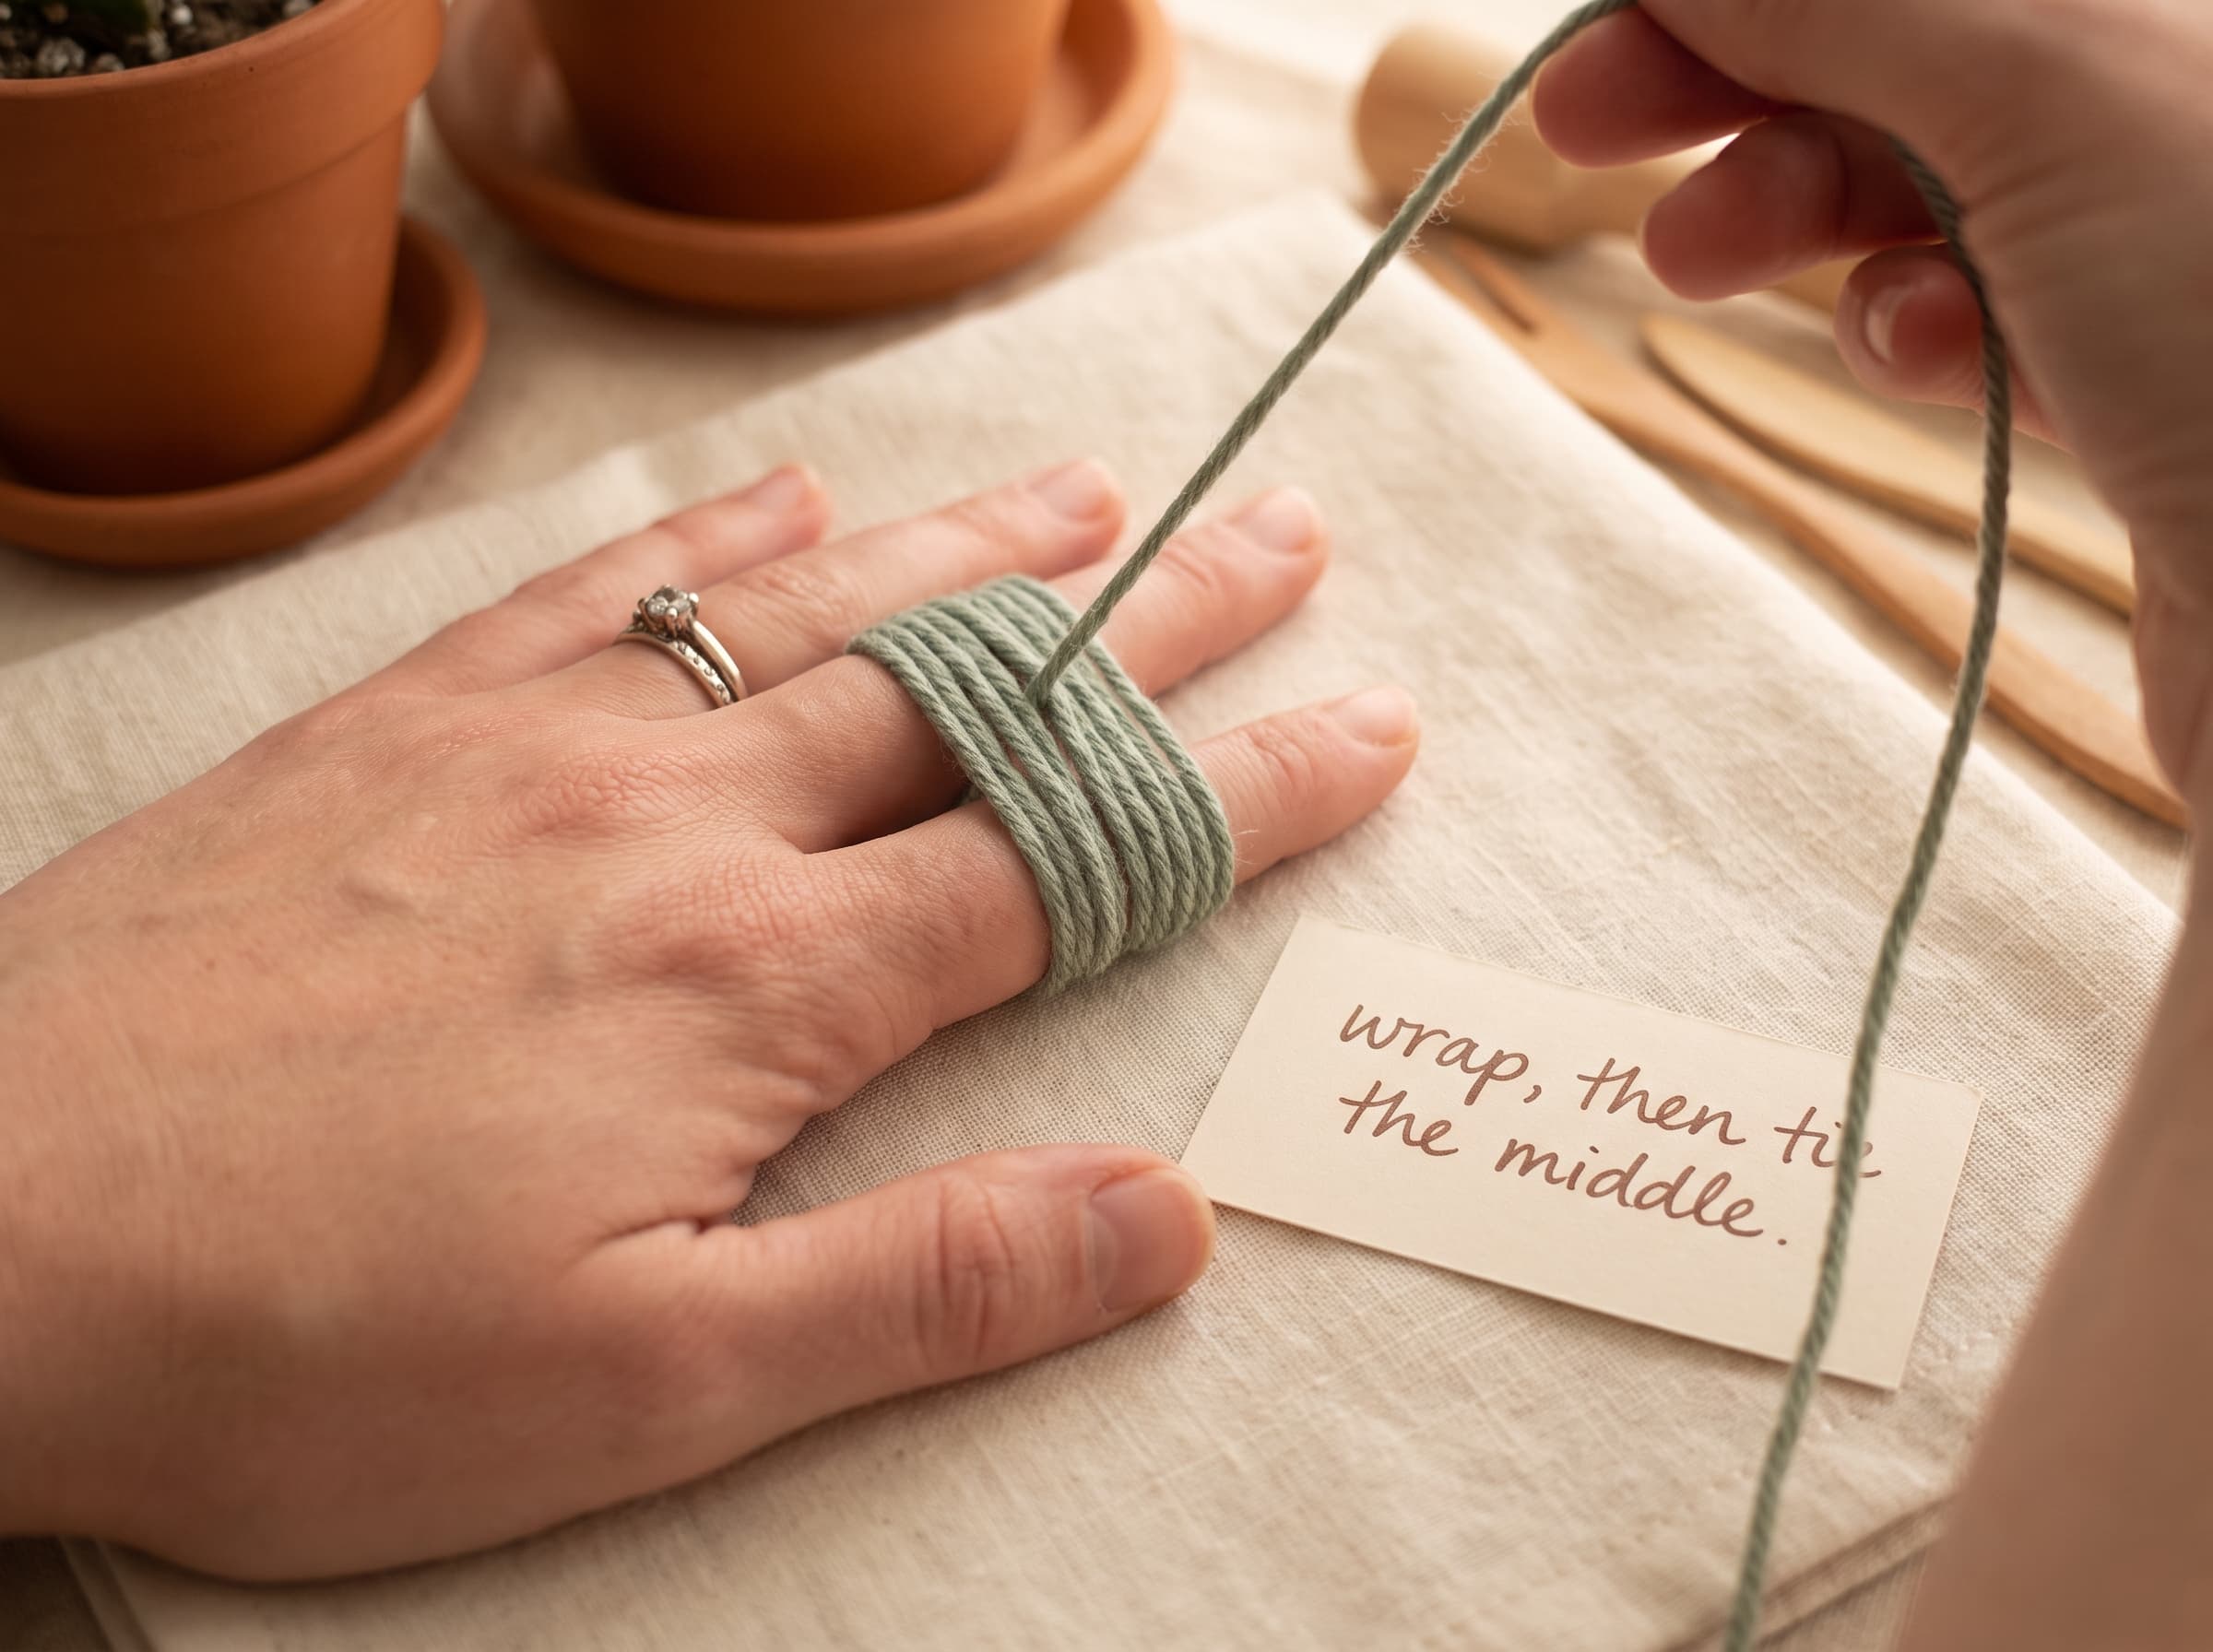
Method 4: Using cardboard (any size)
Best forCustom sizes and making a batch of matching pom poms.
Cardboard is the most flexible method, because you decide the size. Cut it to fit the pom pom you want, and it's endlessly reusable.
- 1Cut your cardboard. Cut a strip (or a “C”/donut shape) about as tall as you want your finished pom pom to be wide.
- 2Wrap the yarn around it. Wind evenly around the cardboard, lots of times — more wraps for a fuller pom.
- 3Slide a tie under the wraps. Thread a separate strand of yarn under all the loops (a notch cut in the cardboard helps here).
- 4Tie it tight around the center and knot hard.
- 5Slip it off and cut the loops open along both edges.
- 6Trim & fluff into shape.
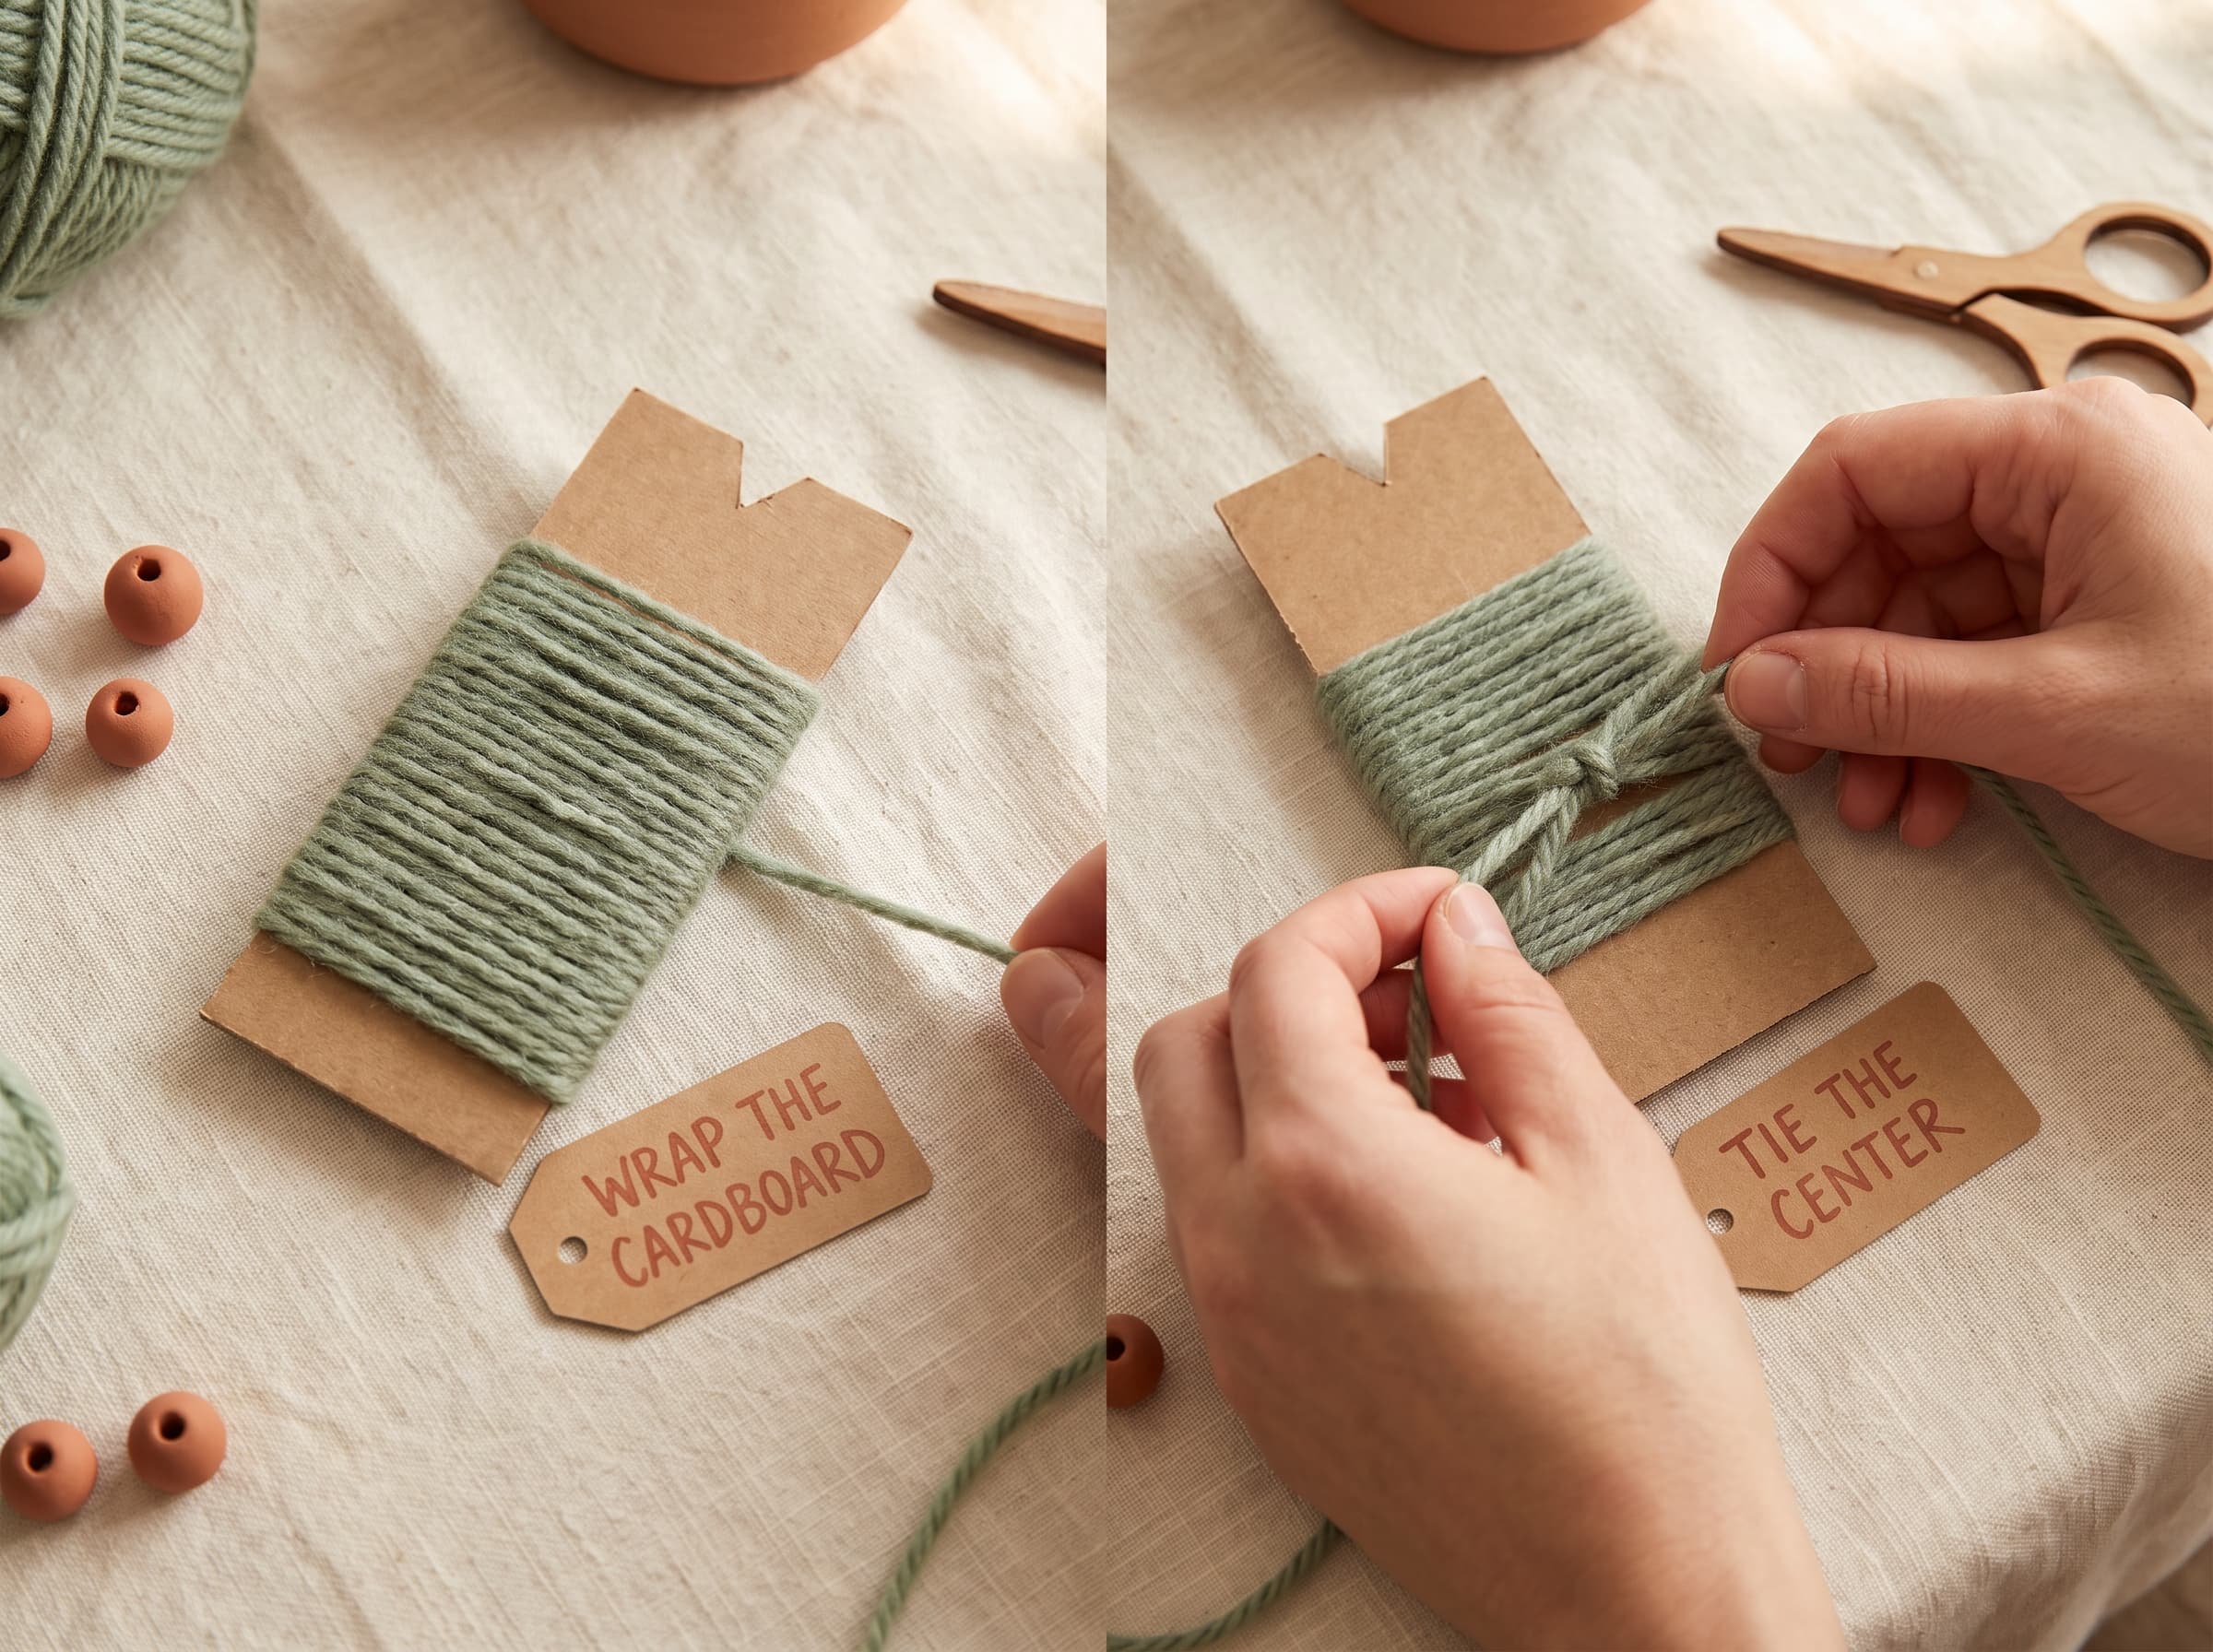
How to trim & fluff for a perfect pom pom
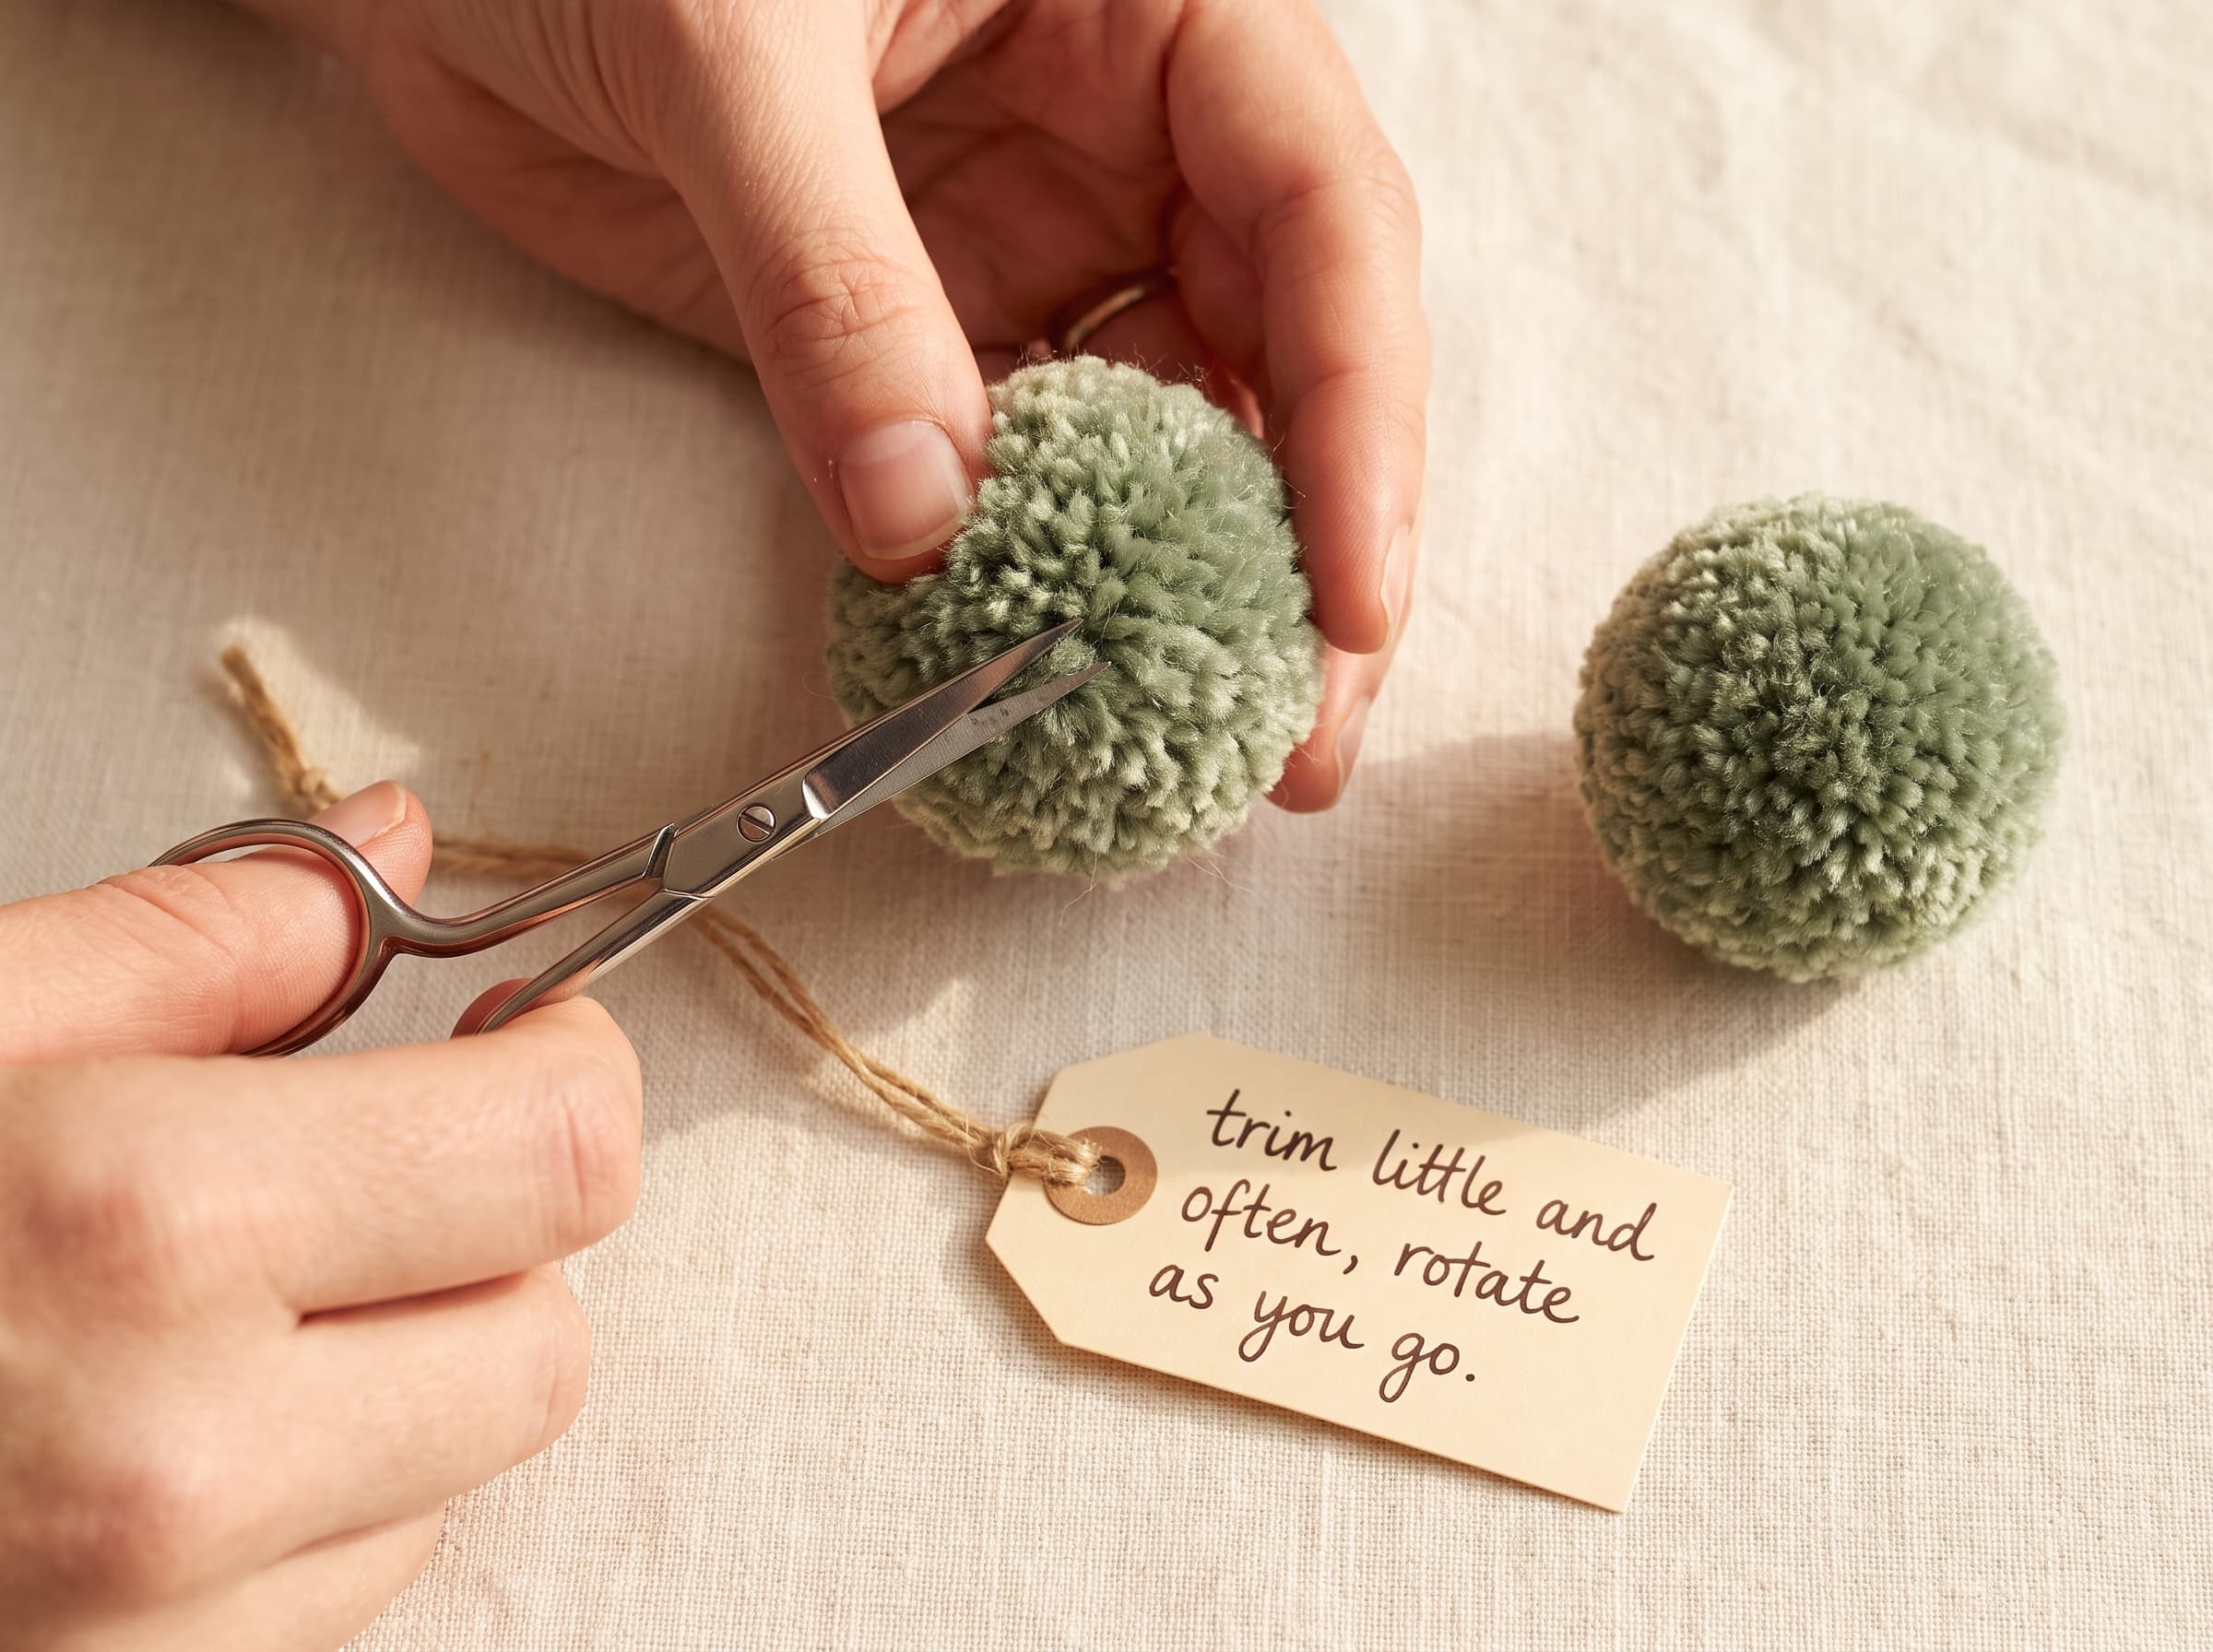
This is the step that separates a neat, bakery-fresh pom pom from a lumpy one, and it's the part most tutorials rush. Take your time here — it's where the magic happens.
- 1Fluff it out first. Roll the pom pom between your palms and give it a good shake to spread the strands evenly in every direction. This shows you where it's uneven.
- 2Trim the outliers. Snip off the longest, stray strands sticking out past the ball. Small cuts, not big chops.
- 3Shape it round. Rotate the pom as you trim, taking a little off all over until it's an even sphere. Think “gentle haircut,” not “buzz cut.”
- 4Fluff and repeat. Shake it out again, spot any flat sides or long bits, and trim once more. Two or three passes gets you a lovely dense ball.
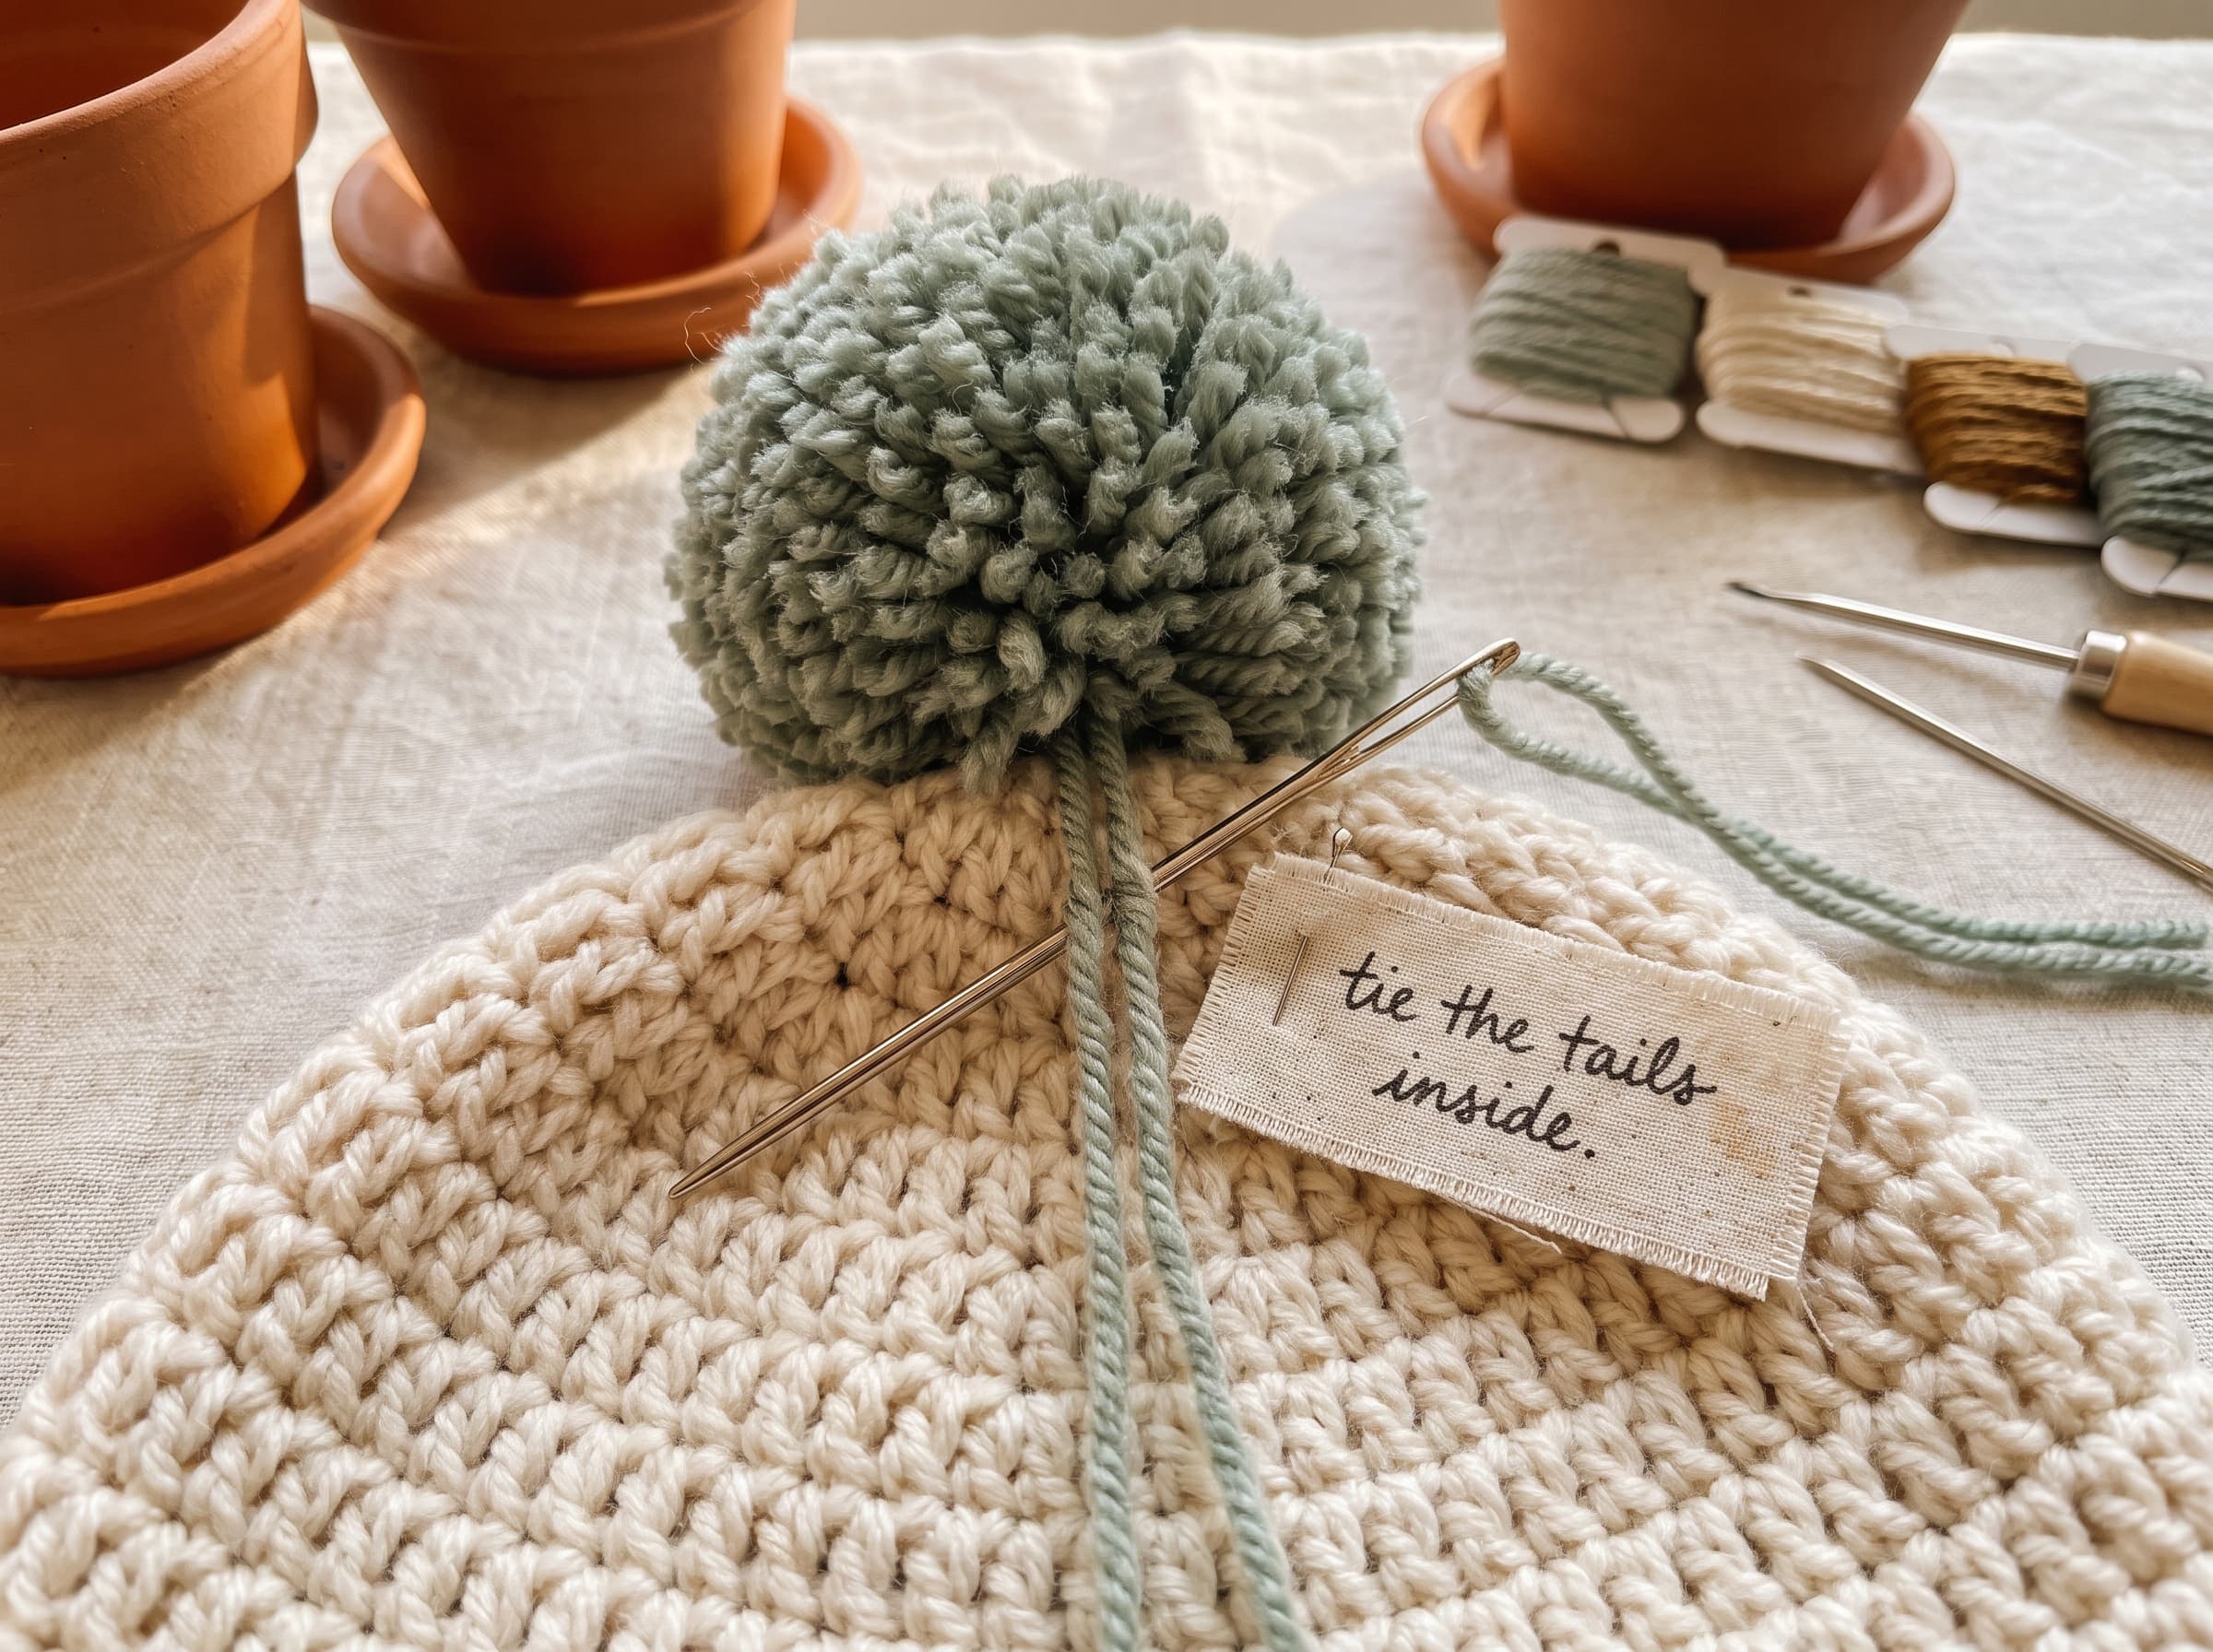
How to attach a pom pom (to hats, etc.)
You made a gorgeous pom pom — now let's get it to stay on your hat. Remember those long tie tails you saved from the center? This is where they earn their keep.
The secure way (best for hats)
- 1Thread the tails onto a tapestry needle. Use the two long strands from your center tie.
- 2Push them through the top of your hat from the outside in, right where you want the pom.
- 3Tie them tightly inside the hat — knot the tails together firmly on the inside.
- 4Weave in the ends so they don't work loose, and you're done.
No tails left? If you trimmed them off by accident (it happens), just thread a fresh strand of yarn through the center of the pom pom, then use that to sew it on the same way.
Tips, uses & common mistakes
A few final pointers to make your pom poms fuller, faster, and more fun to use.
Handy tips
- More wraps = a denser pom. If yours look sparse, you didn't wrap enough. Be generous.
- Use two or three colors at once for a marbled, multi-tone pom pom.
- Sharp scissors matter. Clean cuts give a crisp, even ball; dull scissors drag and fray.
Fun things to make with pom poms
- Toppers for beanies and baby hats
- Keychains and bag charms
- Garlands and bunting for parties or nurseries
- Decorations for wreaths, cushions, and gift wrap
Common mistakes to avoid
- A loose center tie → the pom falls apart. Always knot the middle as tight as it goes.
- Cutting the tie tails off → nothing to attach it with. Keep those long strands.
- Not enough wraps → a thin, floppy pom. Wrap more than you think you need.
- Over-trimming one spot → a bald patch or lopsided ball. Trim little, rotate often.
Related tool guides
Frequently asked questions
More crochet guides you'll like
How to Use a Yarn Winder (+ Buying Guide)
Turn messy skeins and hanks into neat center-pull cakes — step by step, by hand, and manual vs electric.
Crochet Hook Sizes Chart (mm, US & UK Conversions)
The full hook size chart with every mm/US/UK conversion, plus which hook to use for each yarn weight.
Crochet Tools, Hooks & Yarn: A Beginner's Buyer Guide
The few supplies you actually need to start — hooks, yarn, and notions, with charts and a budget.