
Yarn Winders: How to Use One (+ Buying Guide)
A yarn winderturns loose skeins and twisted hanks into neat, center-pull “cakes” that feed smoothly and never roll across the floor. This guide covers how to use one step by step, how to wind yarn by hand without a winder, manual vs electric, and exactly what to look for if you're buying your first one.
Updated July 2026 · 9 min read
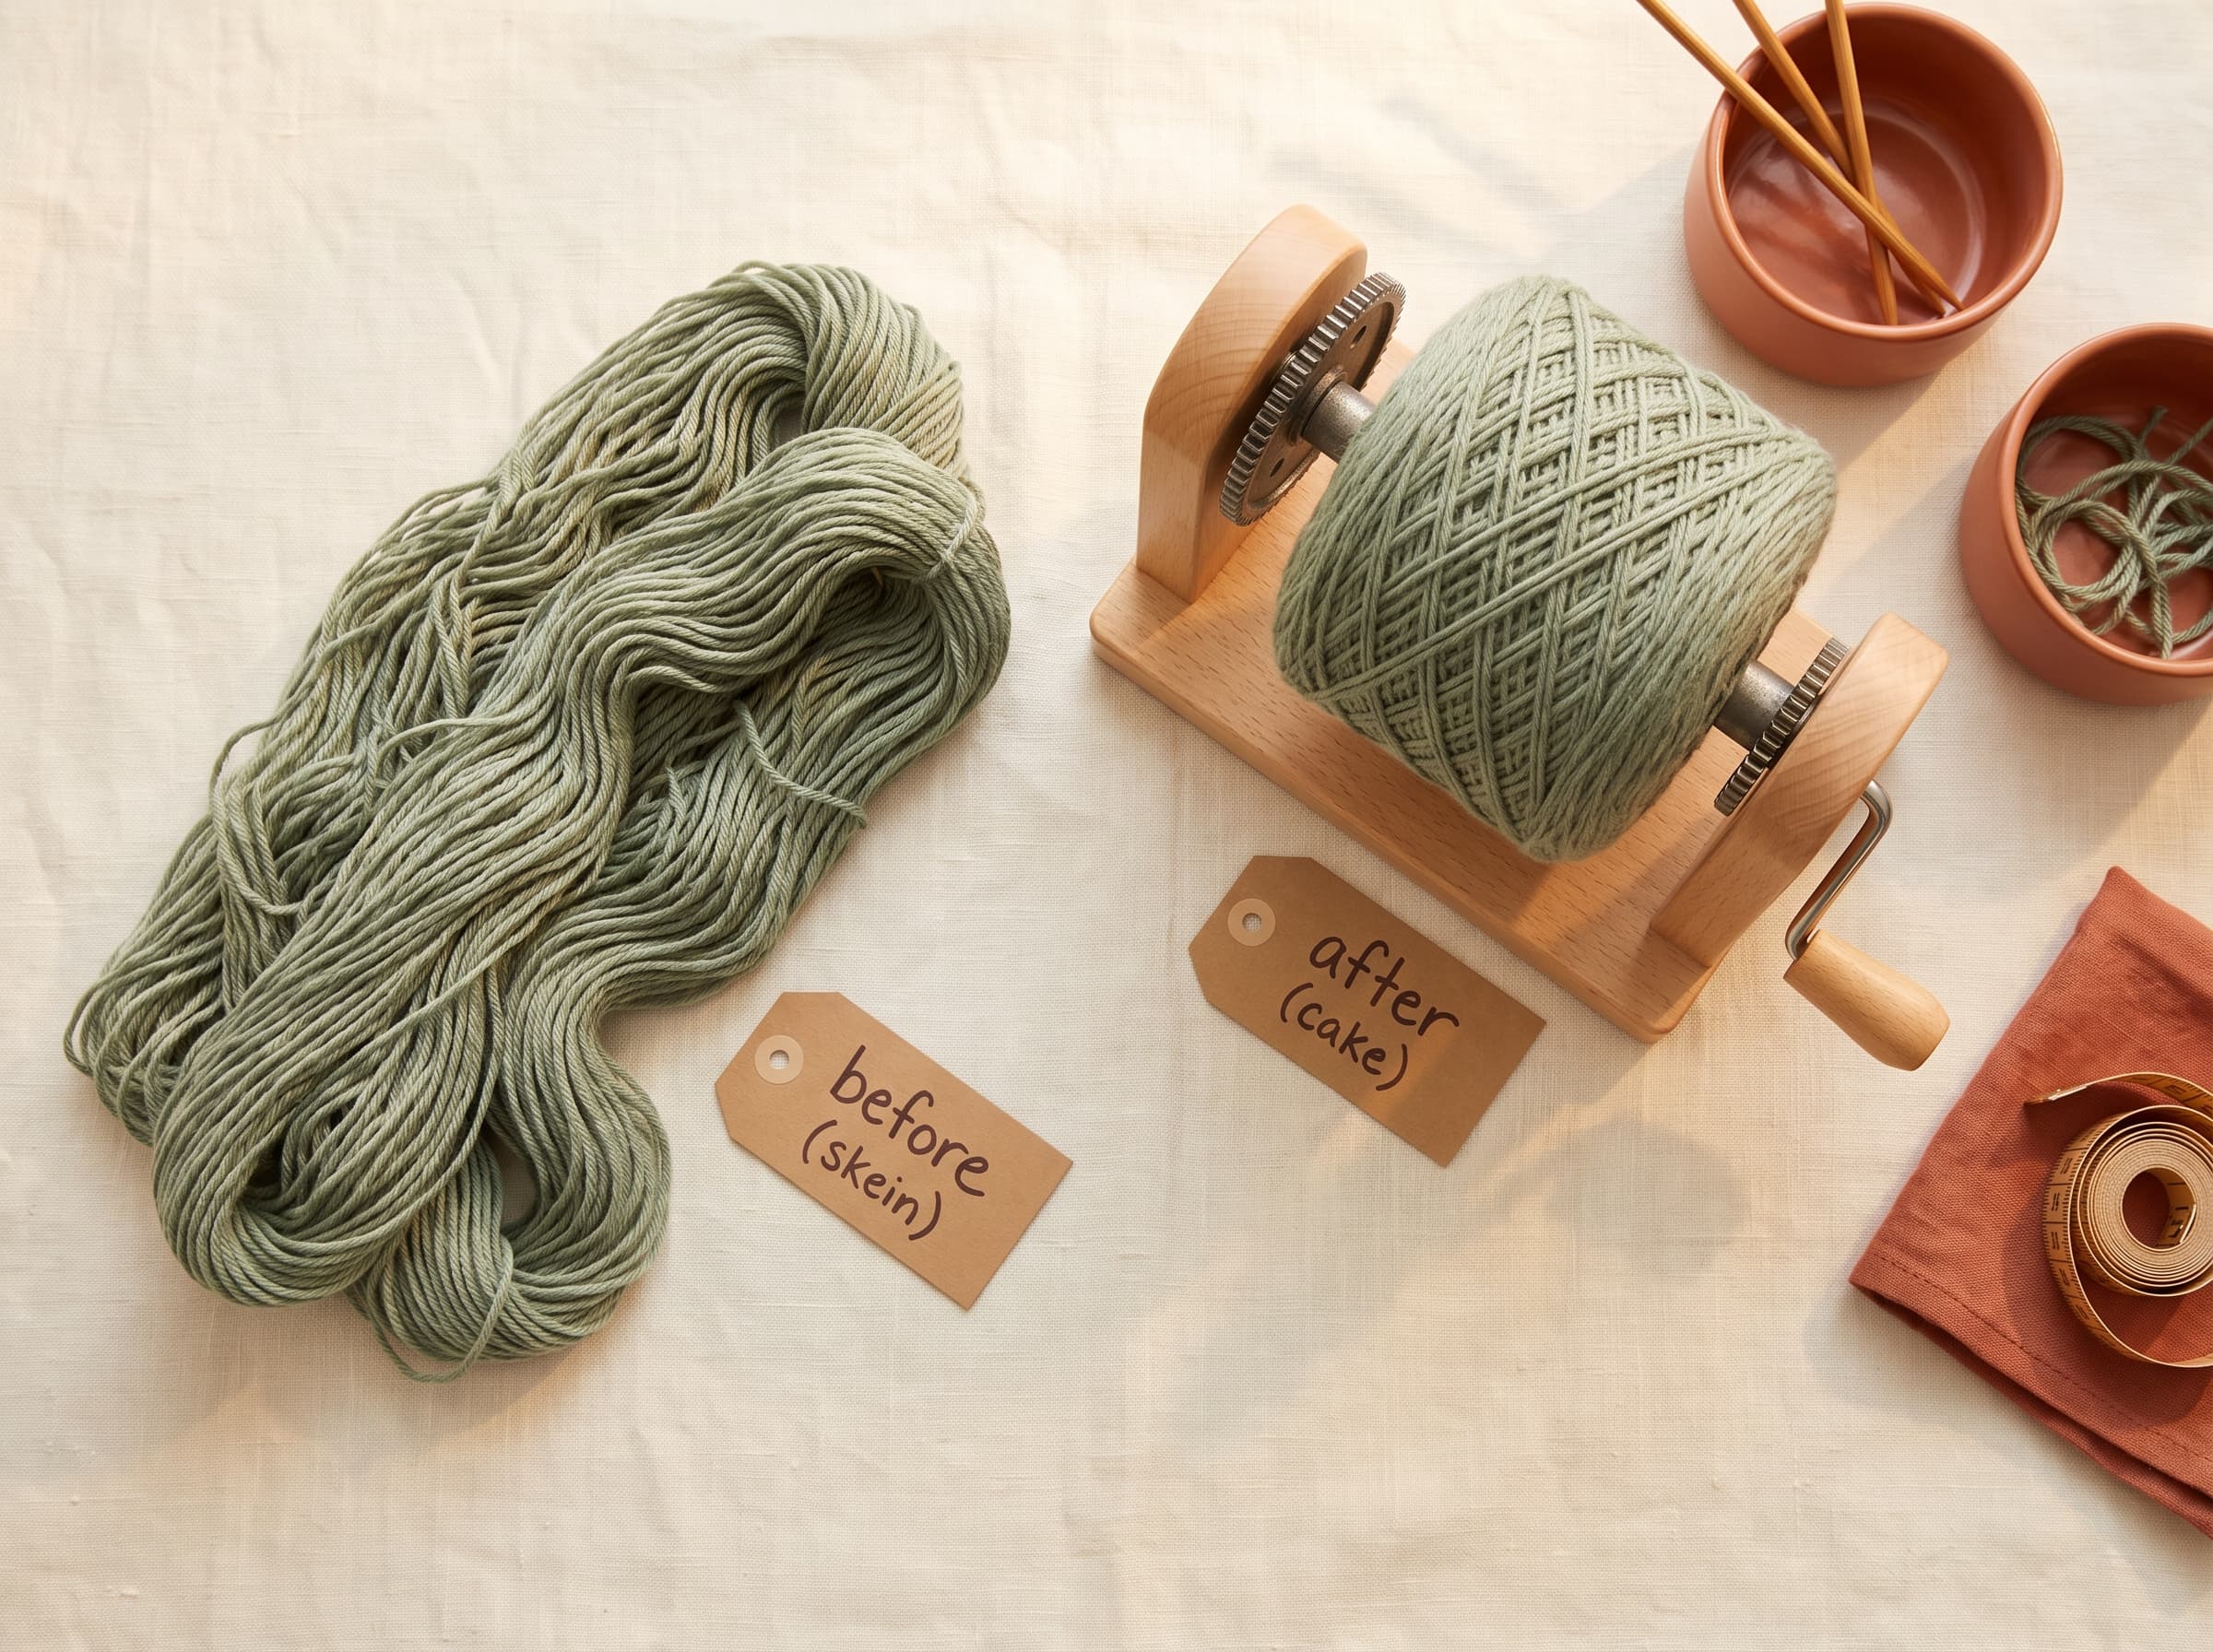
What is a yarn winder (and do you need one)?
A yarn winder is a small hand-cranked (or electric) tool that turns loose skeins and hanks of yarn into neat, flat “cakes” that pull cleanly from the center. It doesn't change your yarn — it just organizes it, so it feeds smoothly and doesn't tangle while you crochet. It's a nice-to-have, not an essential.
You absolutely can crochet without one, and plenty of people do for years. But once you start buying yarn in hanks (the twisted loops that aren'tready to use), or you're tired of chasing a rolling ball across the floor, a winder starts to feel less like a gadget and more like a small miracle.
What a yarn winder actually does for you
- Turns hanks into usable cakes in seconds — no more draping yarn over your knees.
- Feeds from the center, so your cake sits still instead of rolling around.
- Prevents tangles, because the yarn is wound neatly and evenly.
- Makes leftovers tidy, so your stash stays organized and easy to see.
Before we wind anything, it helps to know what form your yarn came in, because that decides whether you even need a winder.
Skein vs hank vs cake vs ball
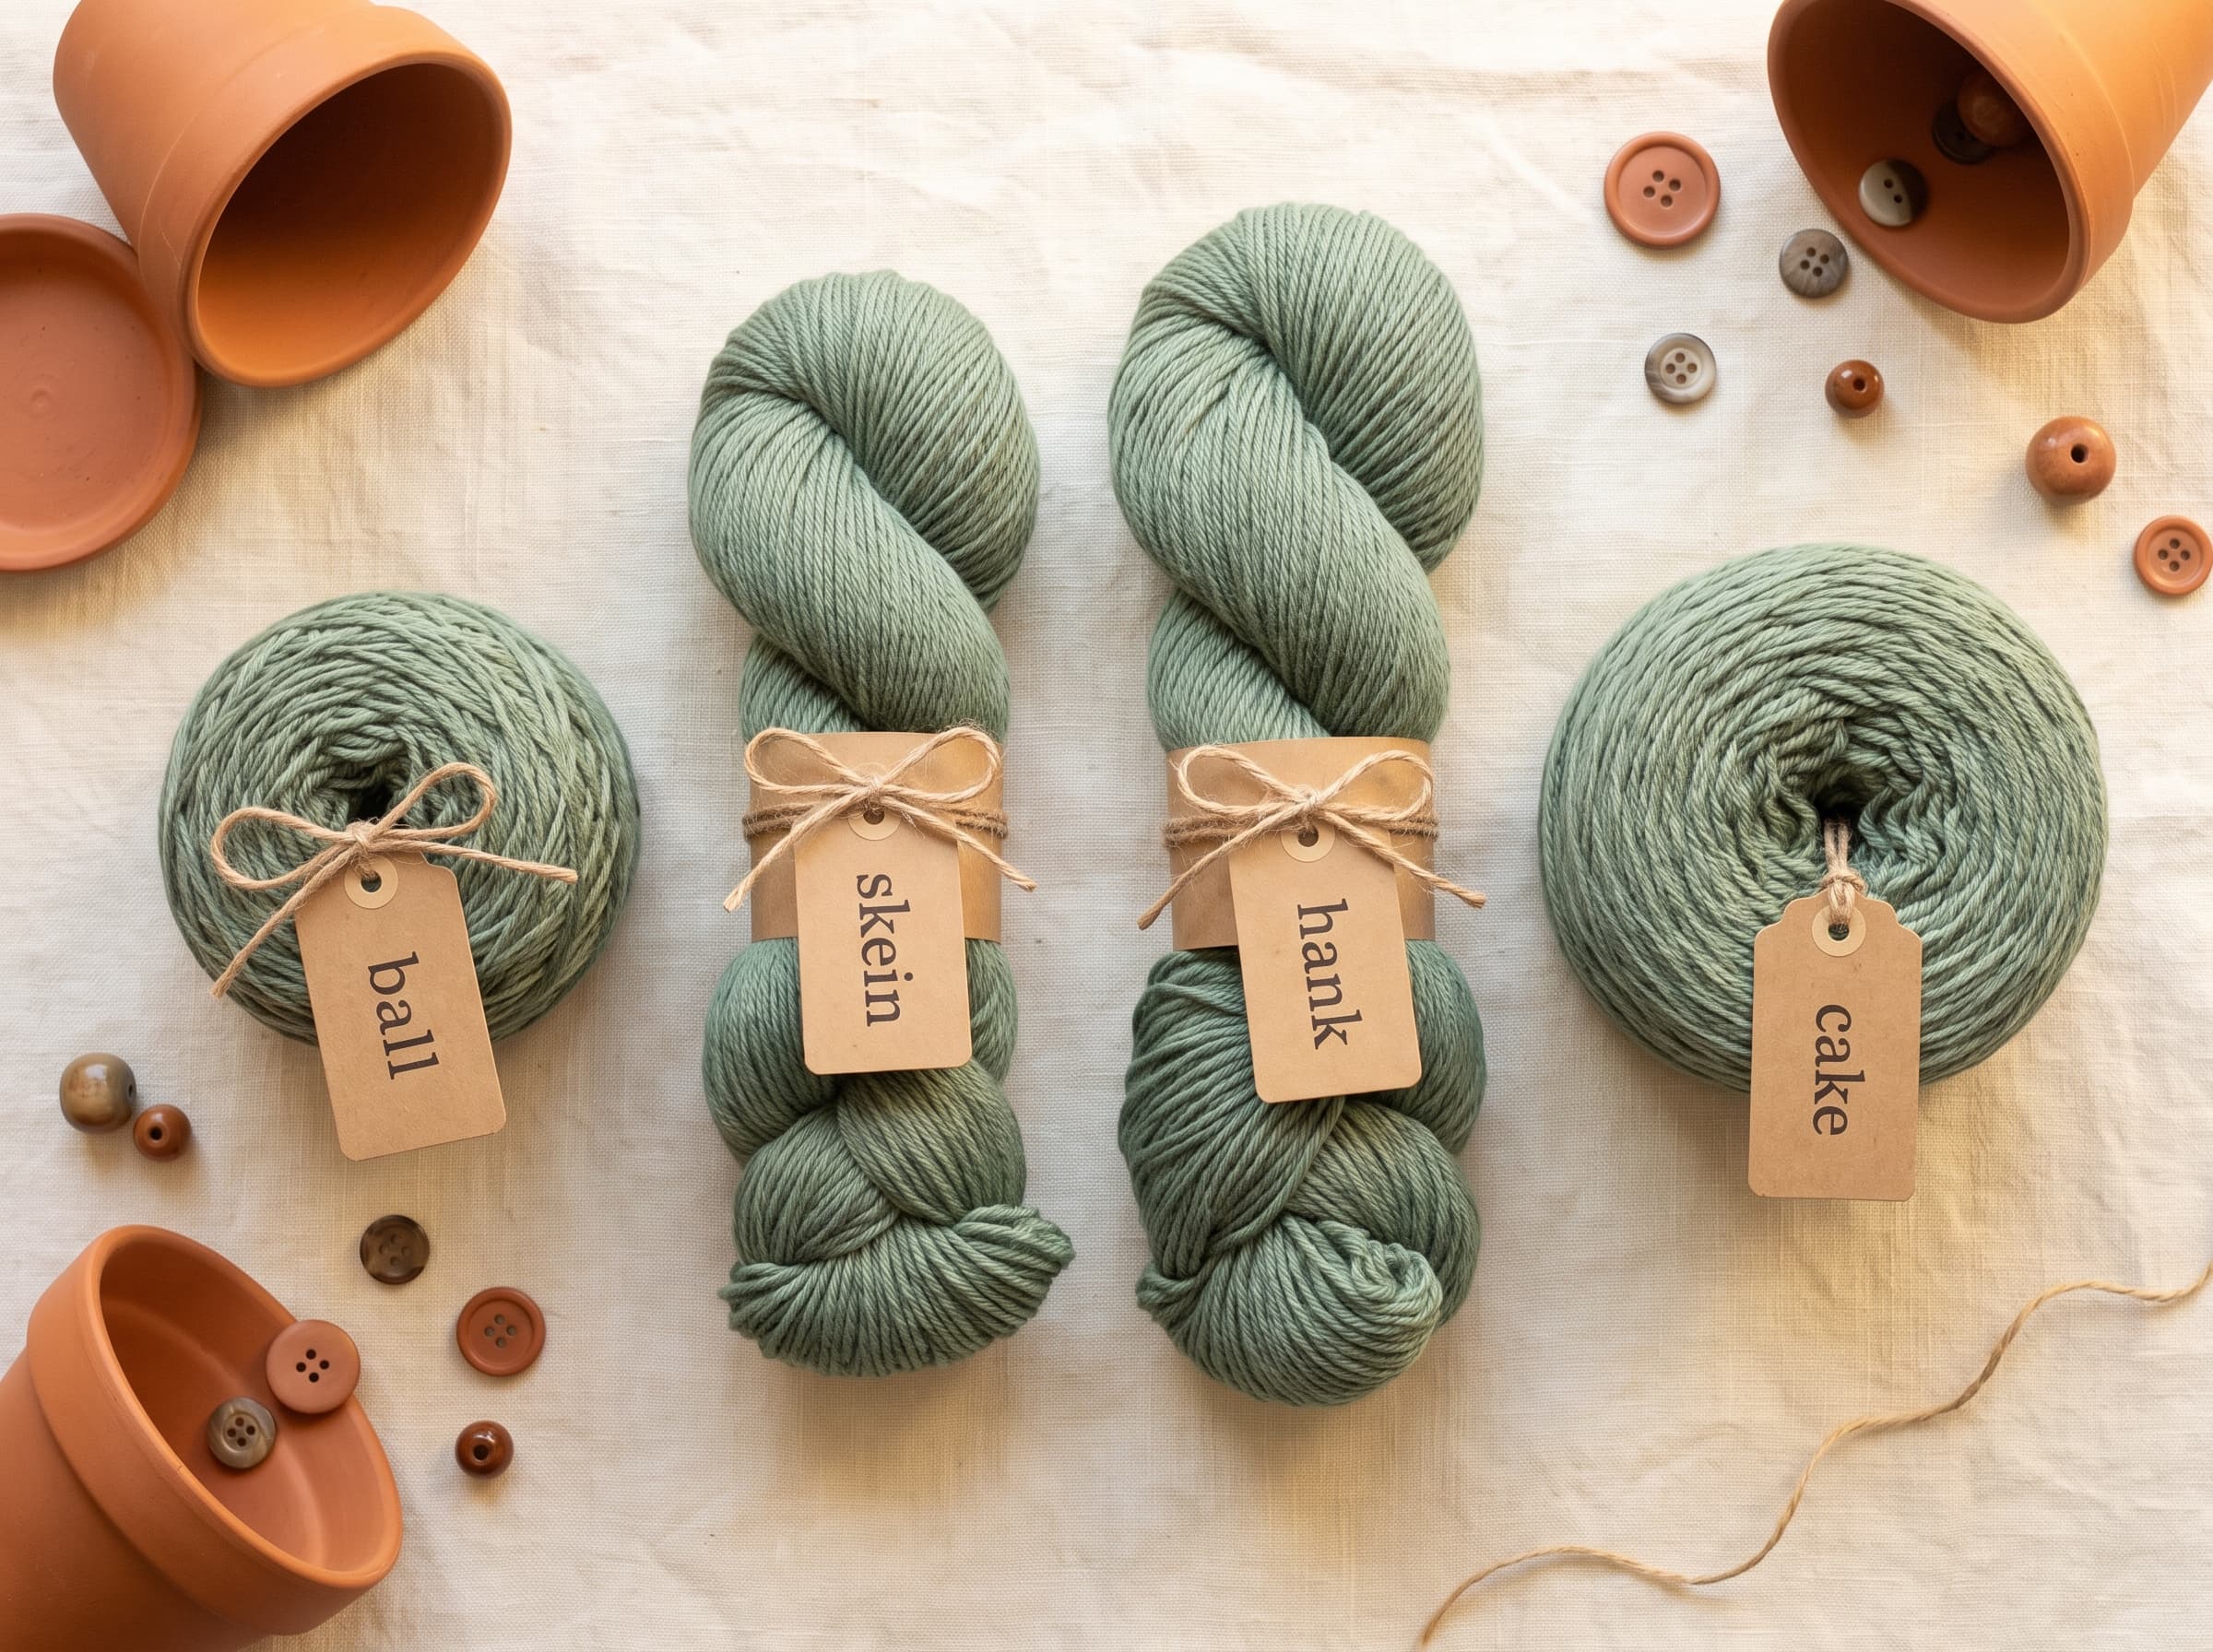
Yarn comes in a few different shapes, and knowing which one you've got tells you whether you need to wind it at all. Here's the quick version:
| Form | What it looks like | Ready to use? | Winder needed? |
|---|---|---|---|
| Ball | A round, wound ball | Yes | No |
| Skein | An oblong, machine-wound “sausage” (most craft-store yarn) | Yes — pulls from the center | Optional (tidier as a cake) |
| Hank | A large twisted loop/coil | No — will tangle badly | Yes (or wind by hand) |
| Cake | A flat cylinder with a center pull | Yes | It's the result of winding |
The one to watch is the hank.Hanks are those beautiful twisted coils you see with nicer, hand-dyed, and specialty yarns. If you try to crochet straight from a hank, you'll end up in a knotted mess within minutes. A hank must be wound into a ball or cake first — this is the main reason to own a winder.
How to use a yarn winder, step by step
Using a yarn winder is quick once you've done it once. If you're winding a hank, a swift (that umbrella-shaped holder) or a helper's hands makes it much easier, but you can manage a skein solo without either.
Clamp the winder down
Fix the winder firmly to the edge of a sturdy table with its clamp. A wobbly winder makes a wobbly cake, so make sure it's solid.
Set up your yarn source
Working from a hank? Open it out onto a swift, a chair back, or a willing pair of hands so it can spin freely. Working from a skein? Just set it on the floor or in a bowl beside you — it'll feed from the center or outside fine.
Thread the yarn
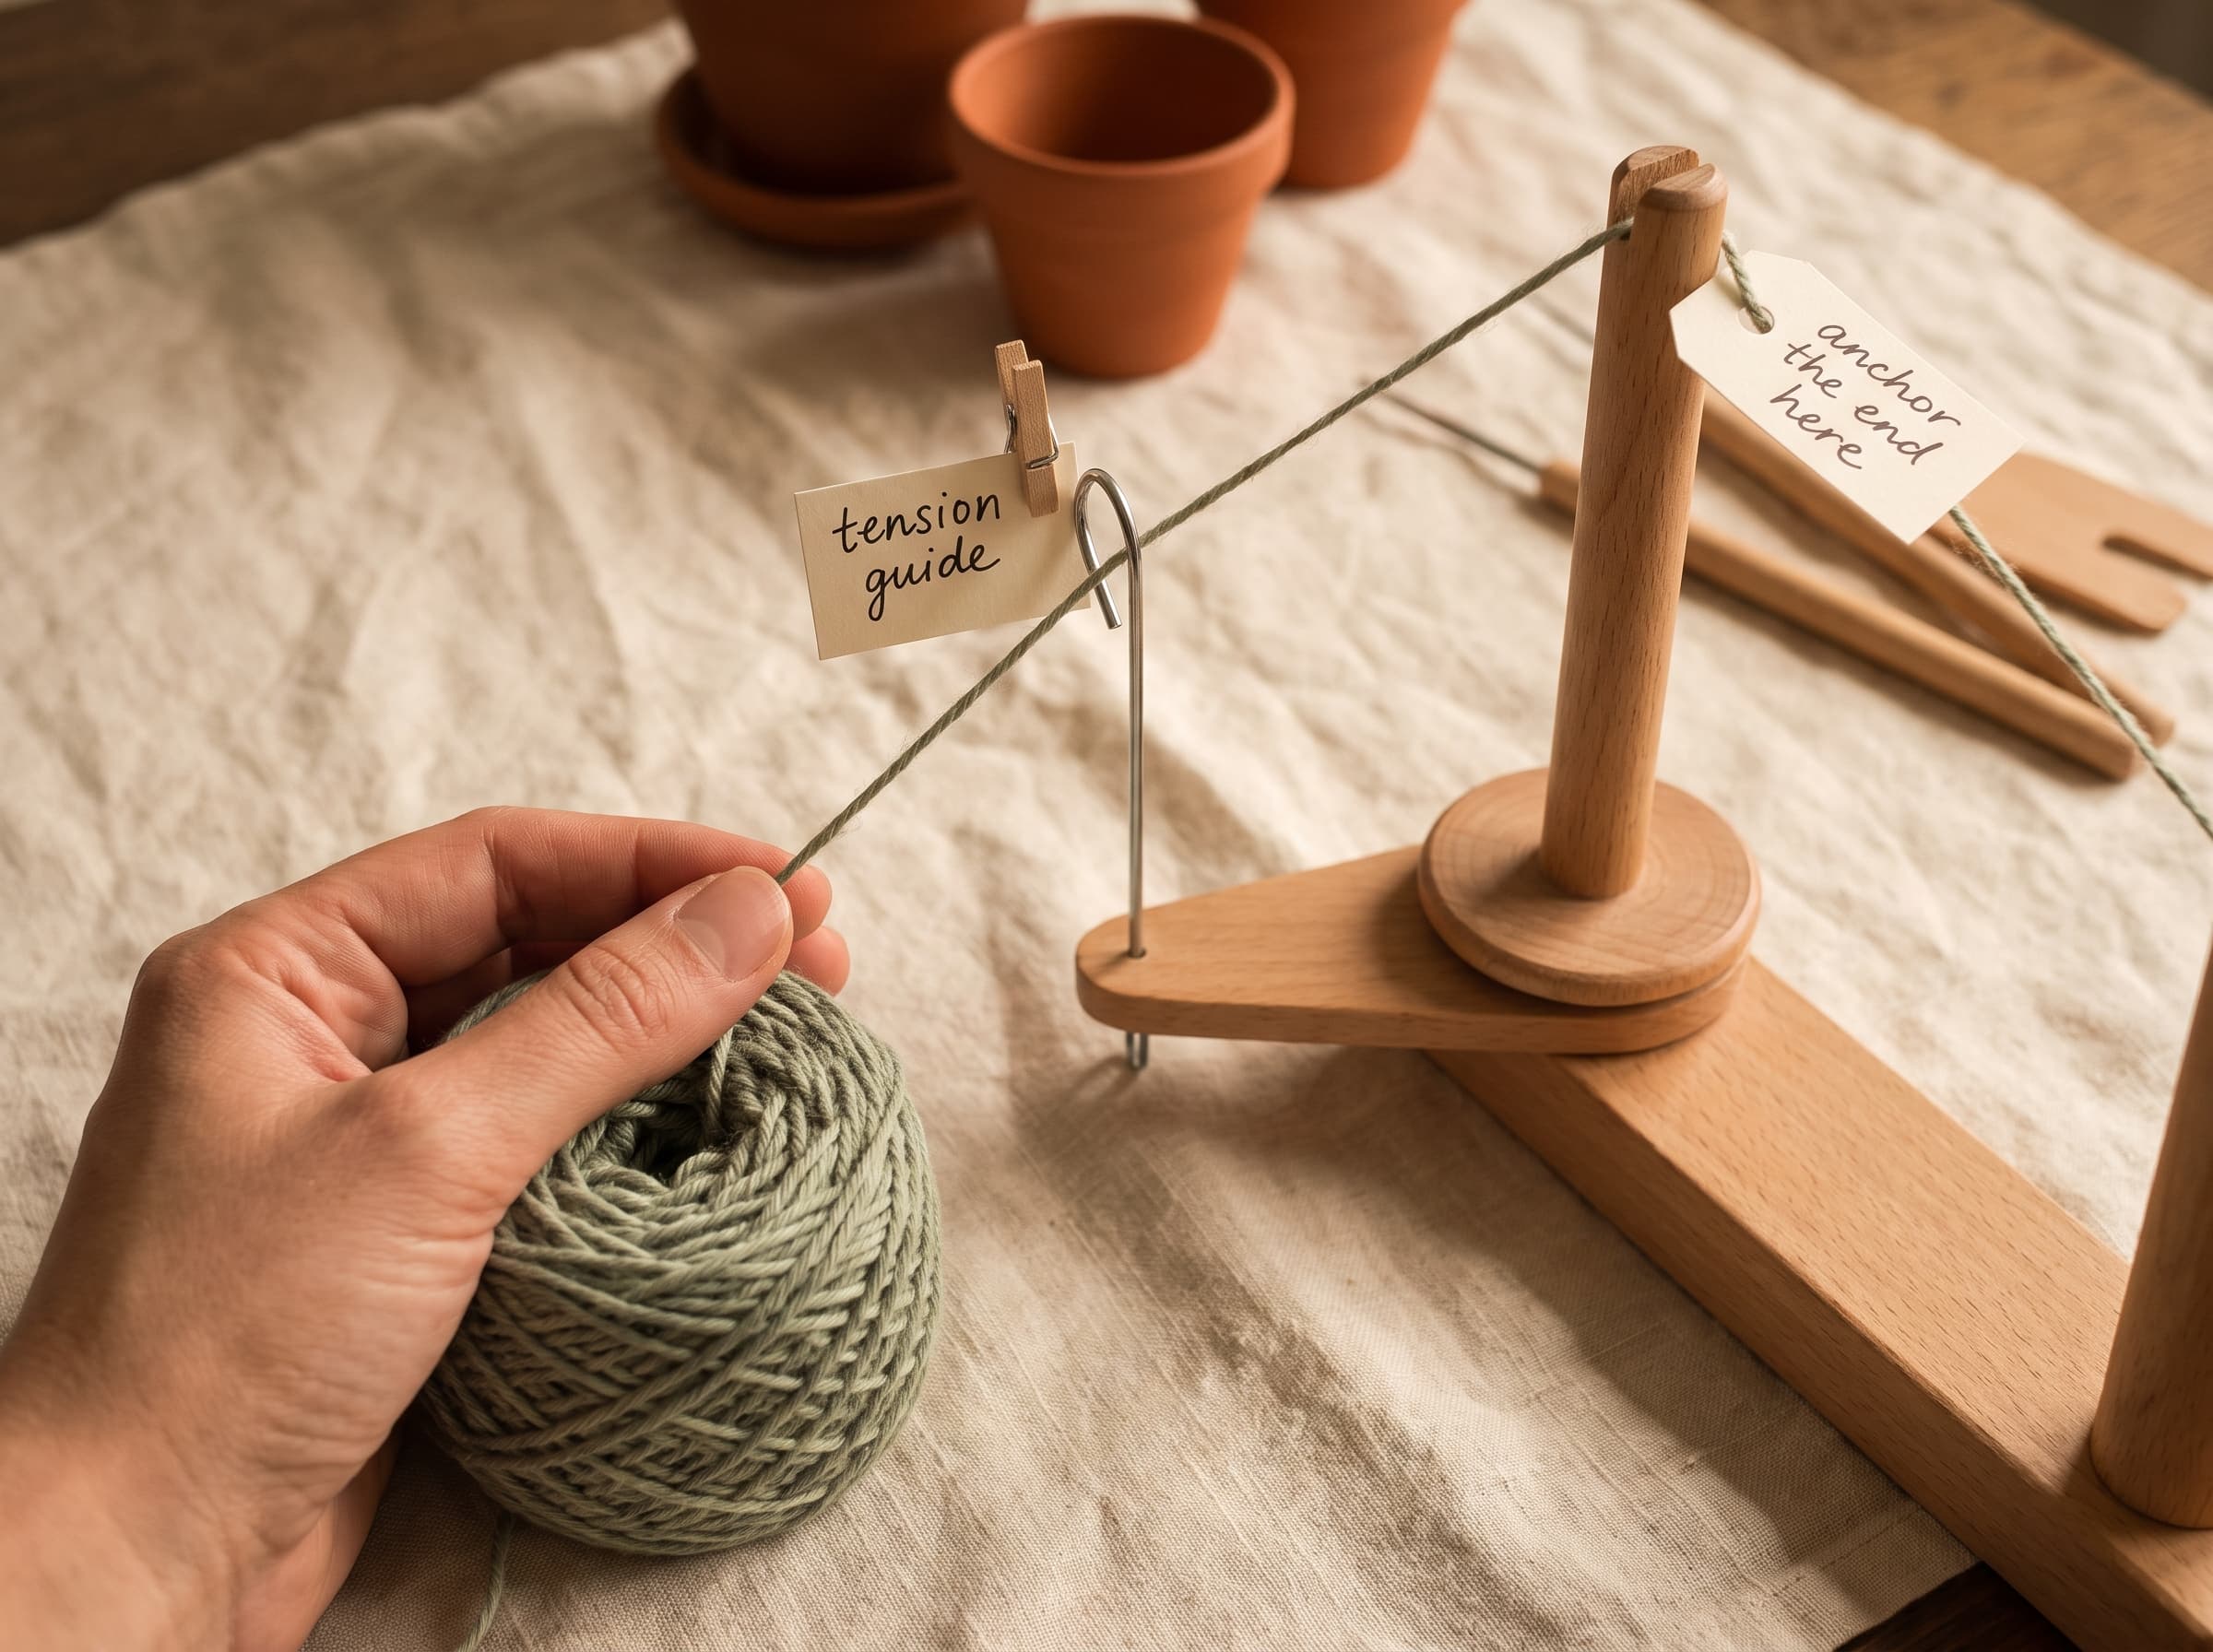
Run the yarn end up through the winder's tension guide/arm — this keeps the yarn even as it winds. Then tuck the end into the little slot or hook on top of the spindle so it's anchored.
Crank steadily
Turn the handle at a smooth, even pace — not too fast. Keep light tension on the yarn with your free hand so it feeds cleanly. You'll watch a tidy cake build up on the spindle.
Finish and lift off
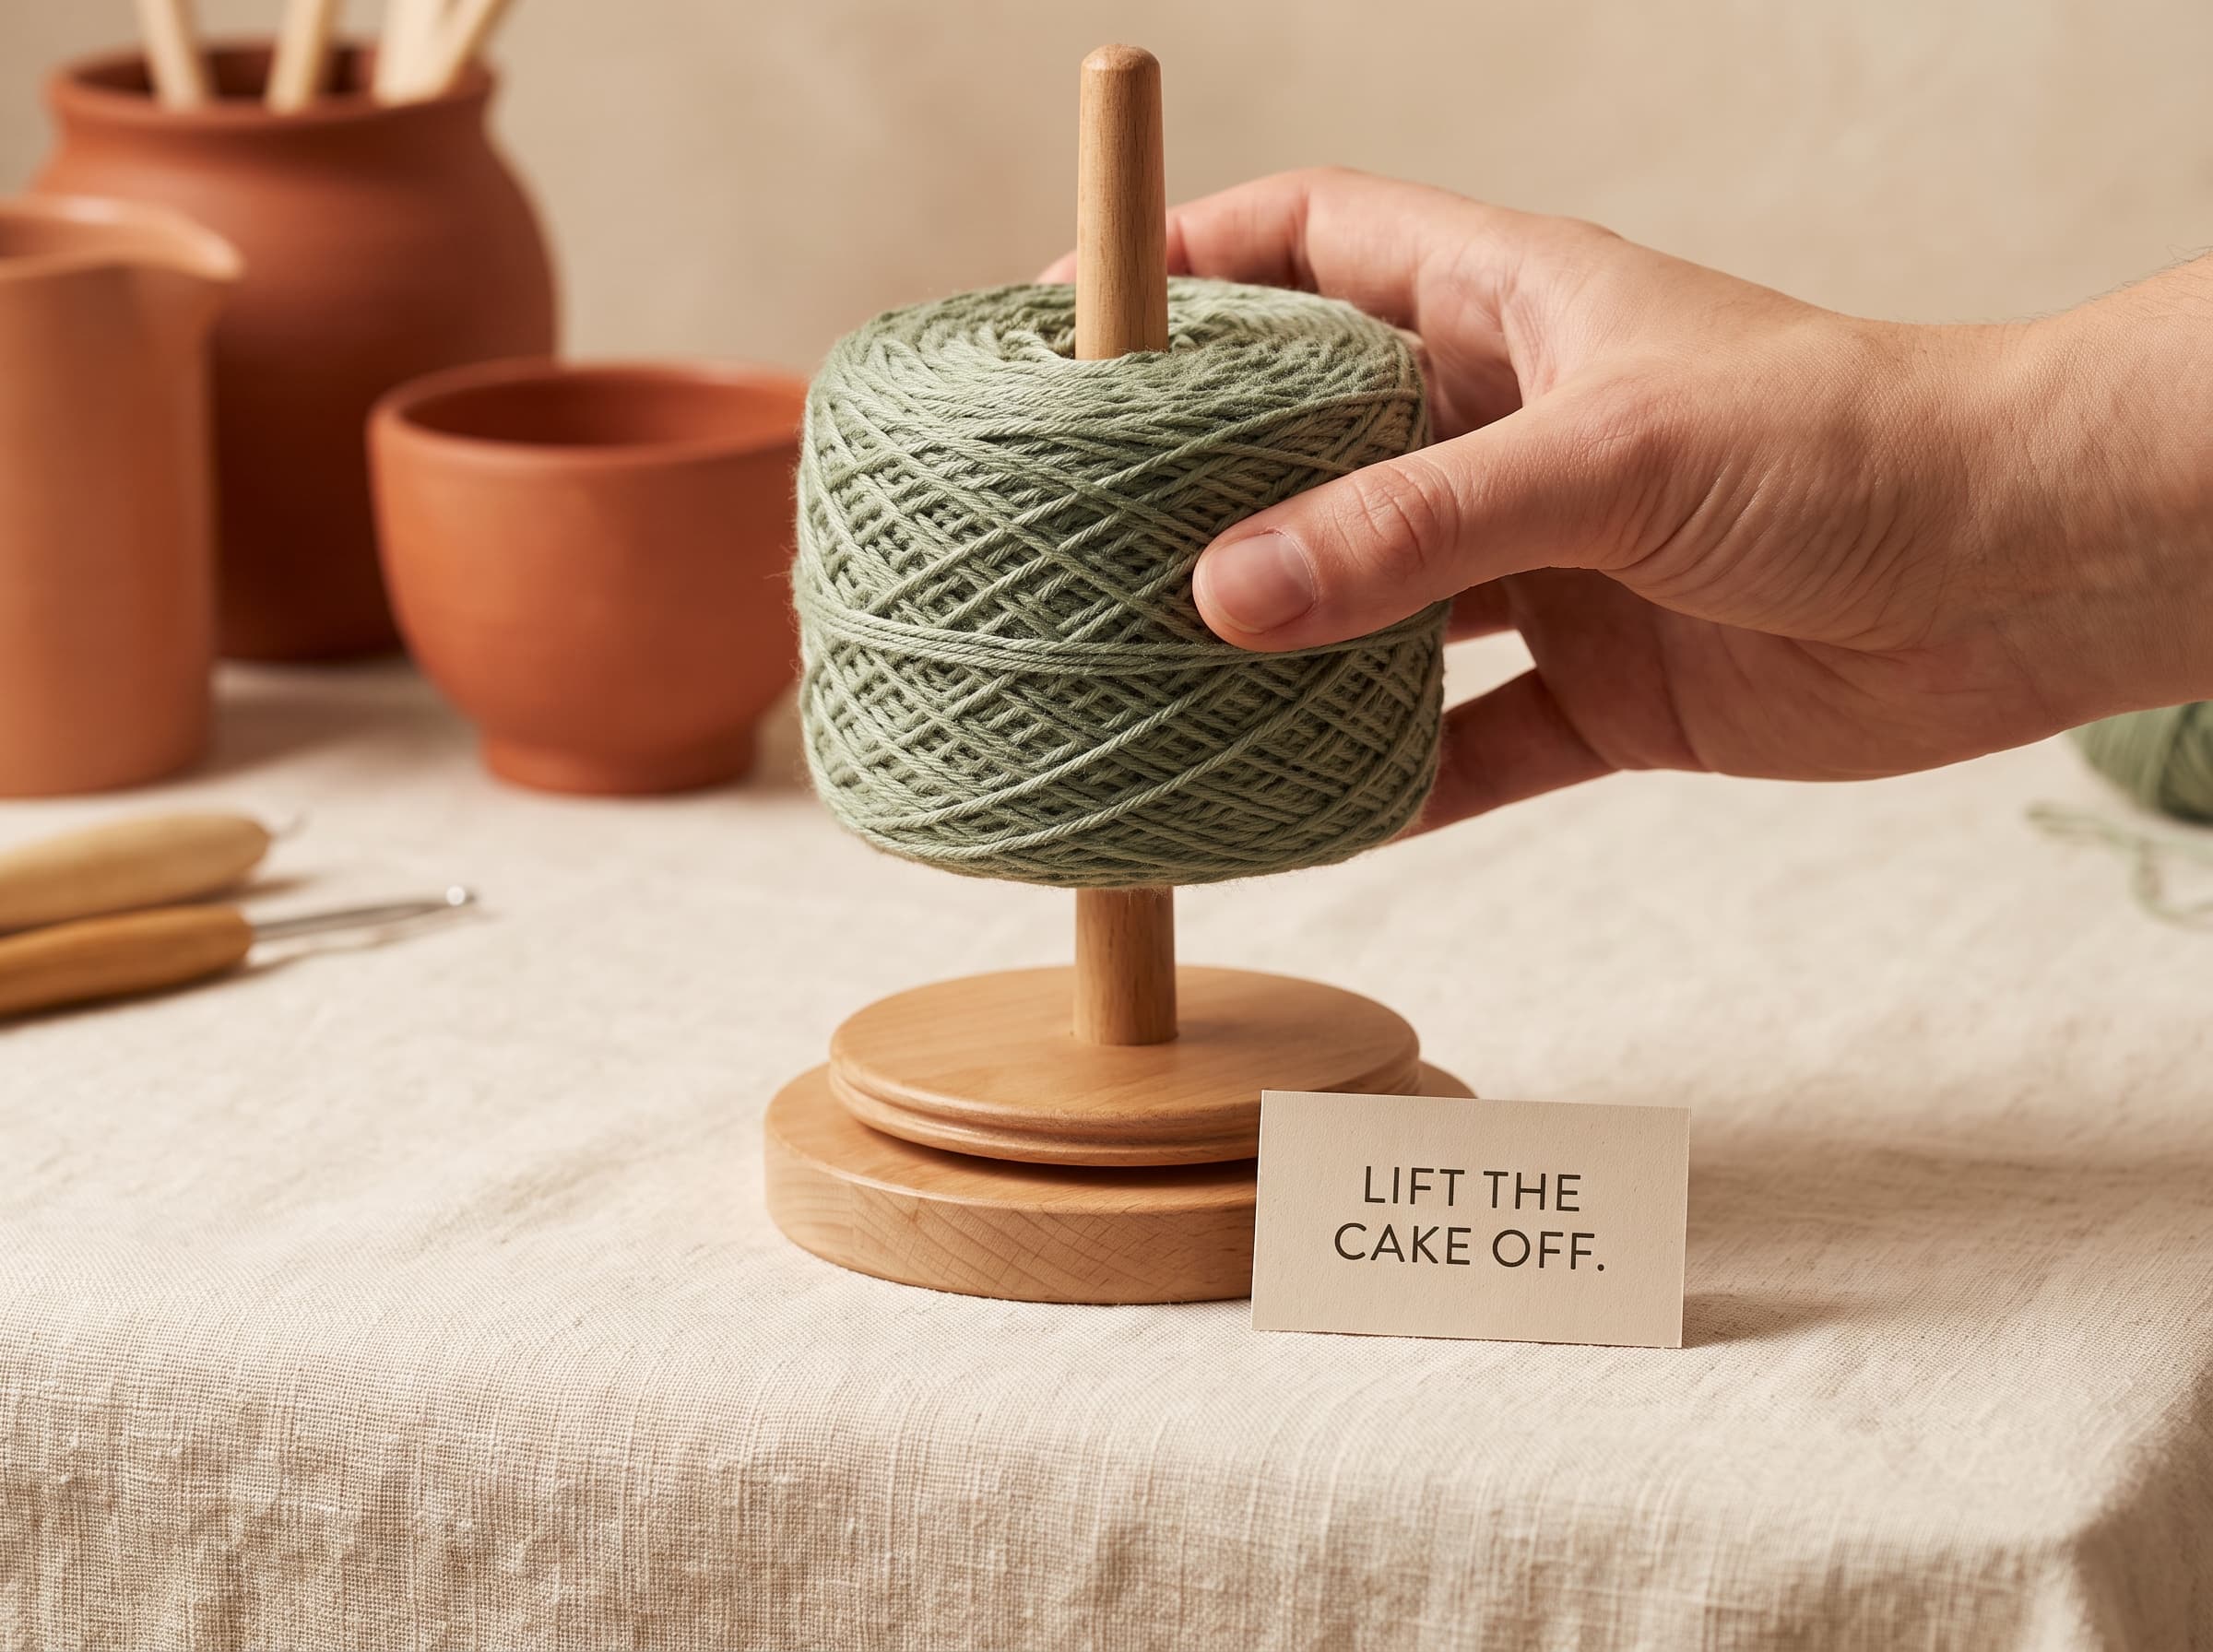
When the yarn runs out, cut it (if needed), tuck the tail, and gently lift the finished cake straight up off the spindle. Done — a neat, center-pull cake ready to crochet.
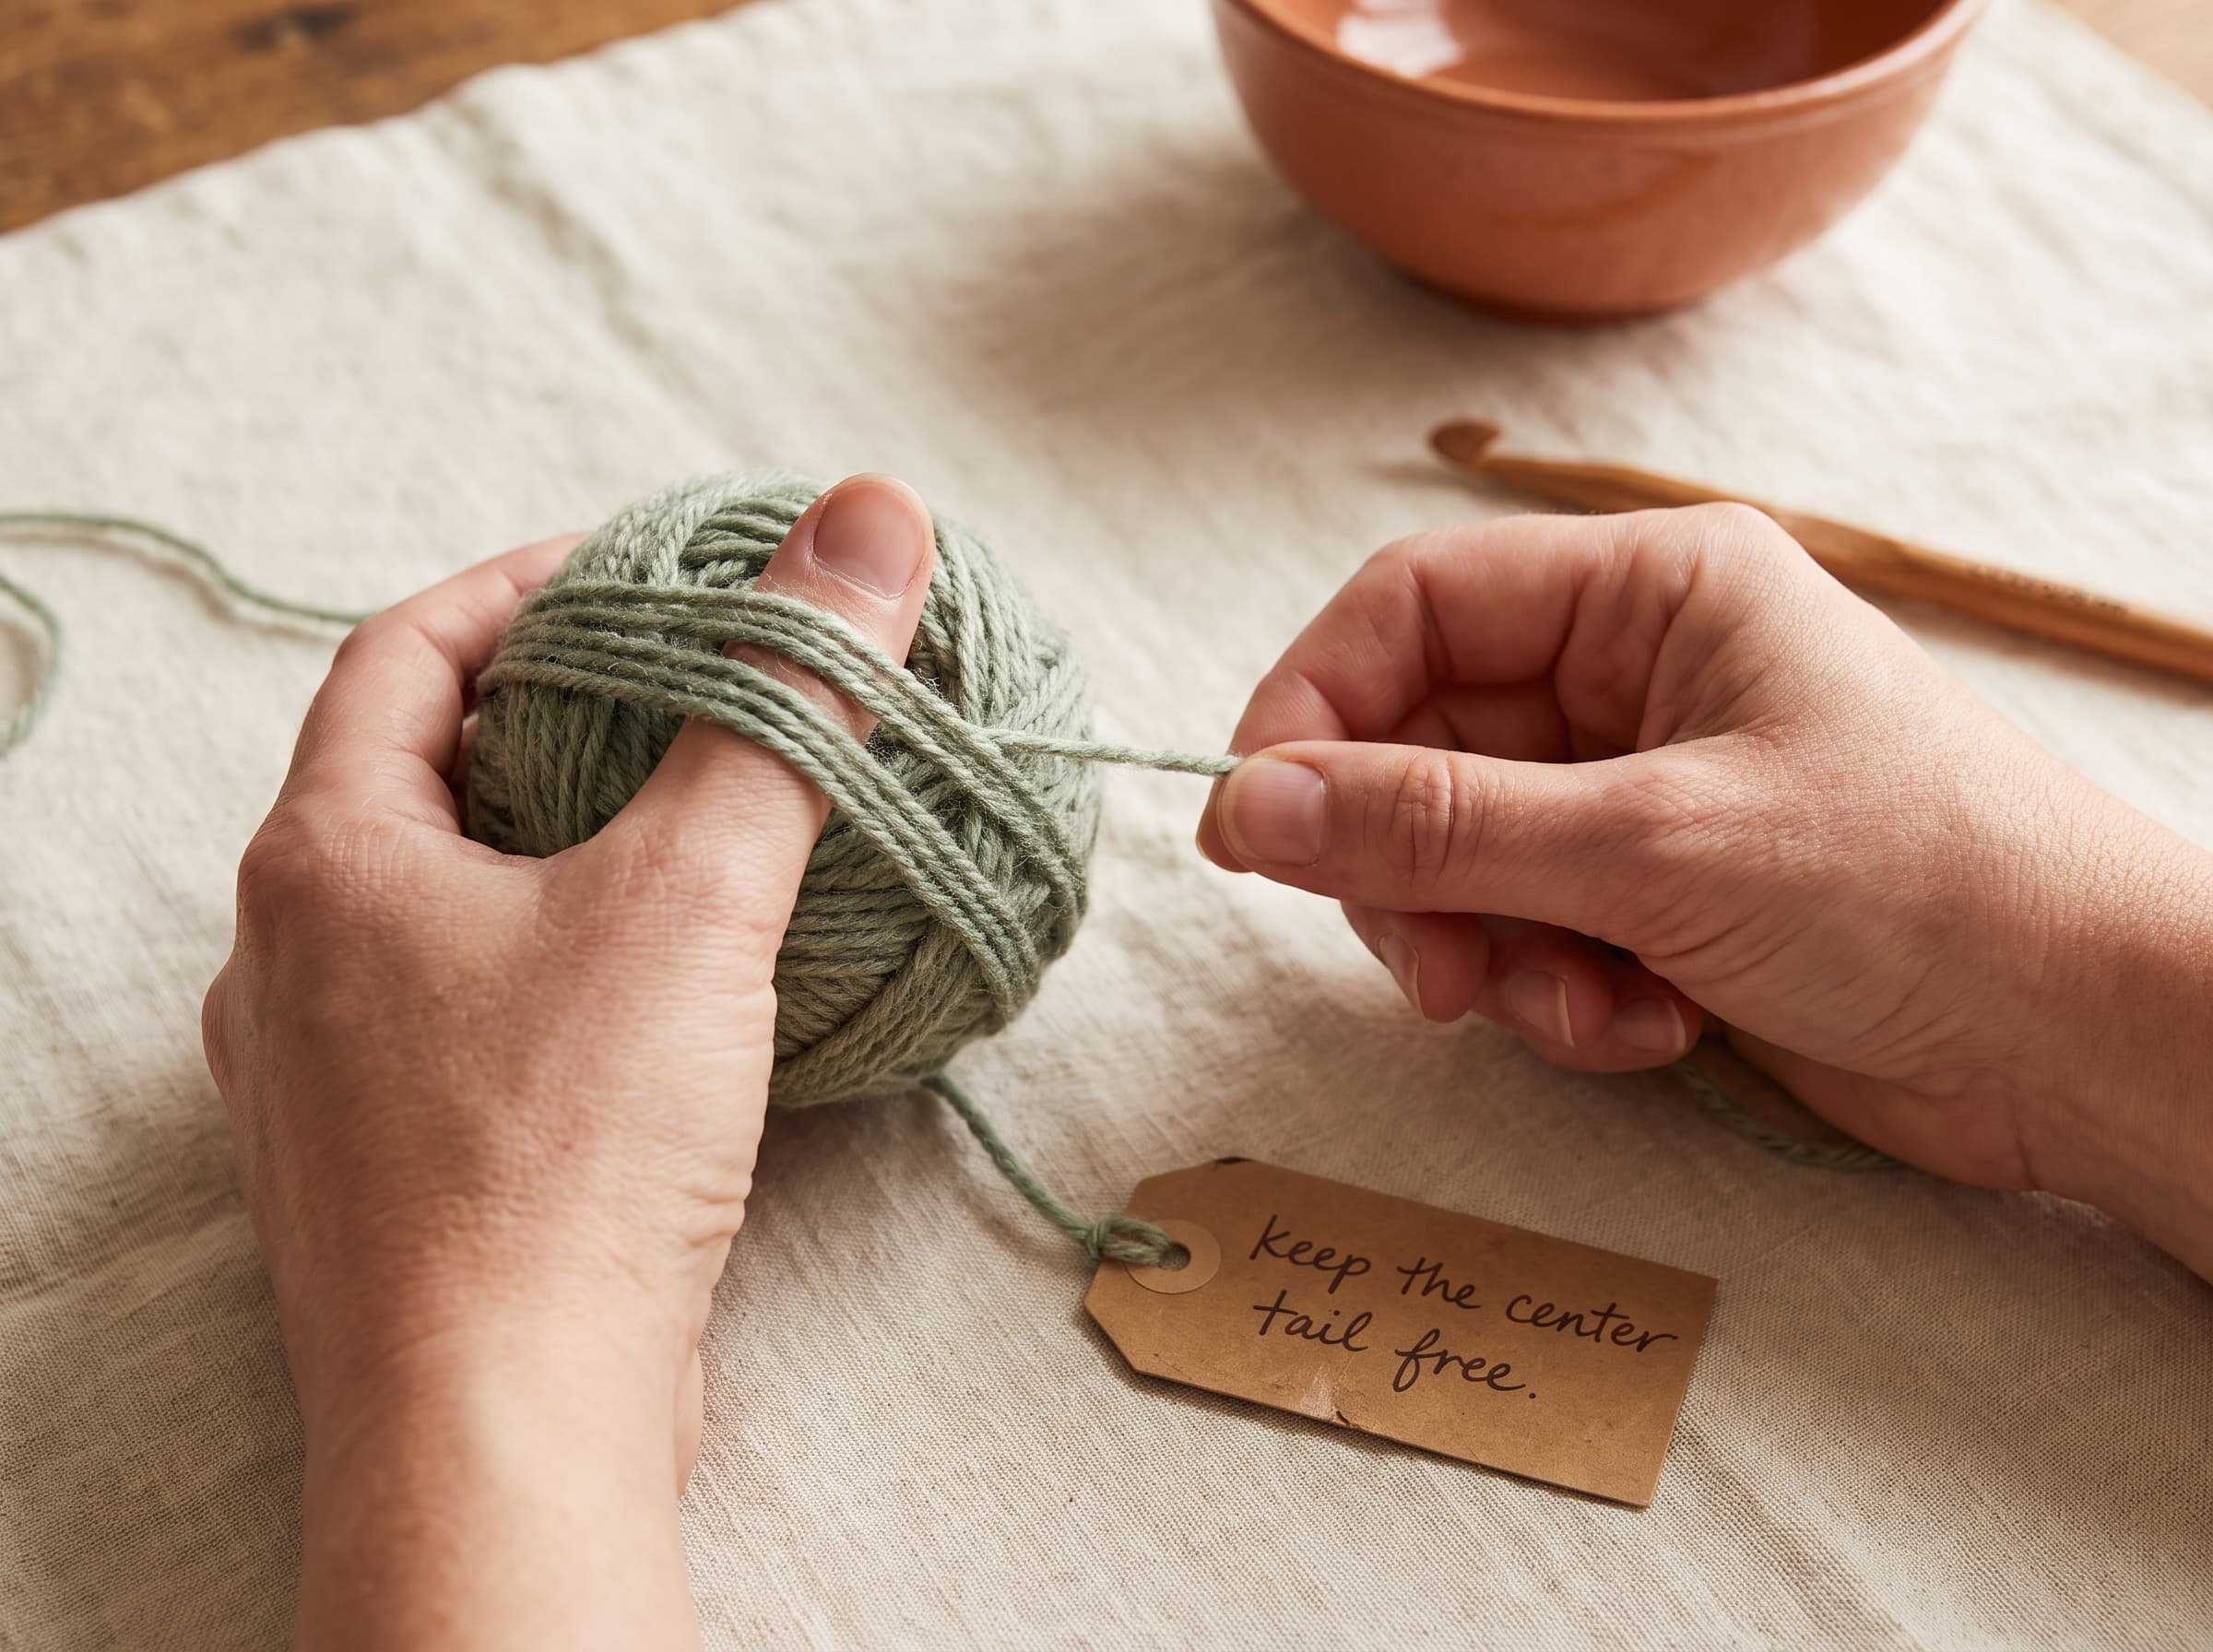
How to wind yarn without a winder (by hand)
No winder? No problem. People wound yarn by hand long before gadgets existed, and it works perfectly well — it just takes a few extra minutes. Here's the easy way to turn a hank or skein into a usable center-pull ball.
What you'll need: your yarn, and your thumb (or a toilet-paper tube, if you want to get fancy).
- 1Free the hank first. If you're working from a hank, open the twisted loop and drape it over a chair back, someone's outstretched hands, or your own knees so it can unwind without tangling.
- 2Start a center tail. Hold about 6 inches of the yarn end against your thumb (or across the top of a cardboard tube). This tail becomes your center pull, so don't wind over its very tip.
- 3Wind in a figure-eight. Wrap the yarn around your thumb and fingers (or the tube) in a loose figure-eight, turning as you go so it builds evenly in all directions. Keep it loose — tight winding stretches the yarn.
- 4Build your ball. Keep turning and wrapping, changing angle often, until all the yarn is wound into a rounded ball.
- 5Slip it off and use the center tail. Gently ease the ball off your thumb or tube. Find that starting tail in the middle, and you've got a center-pull ball.
Manual vs electric yarn winders
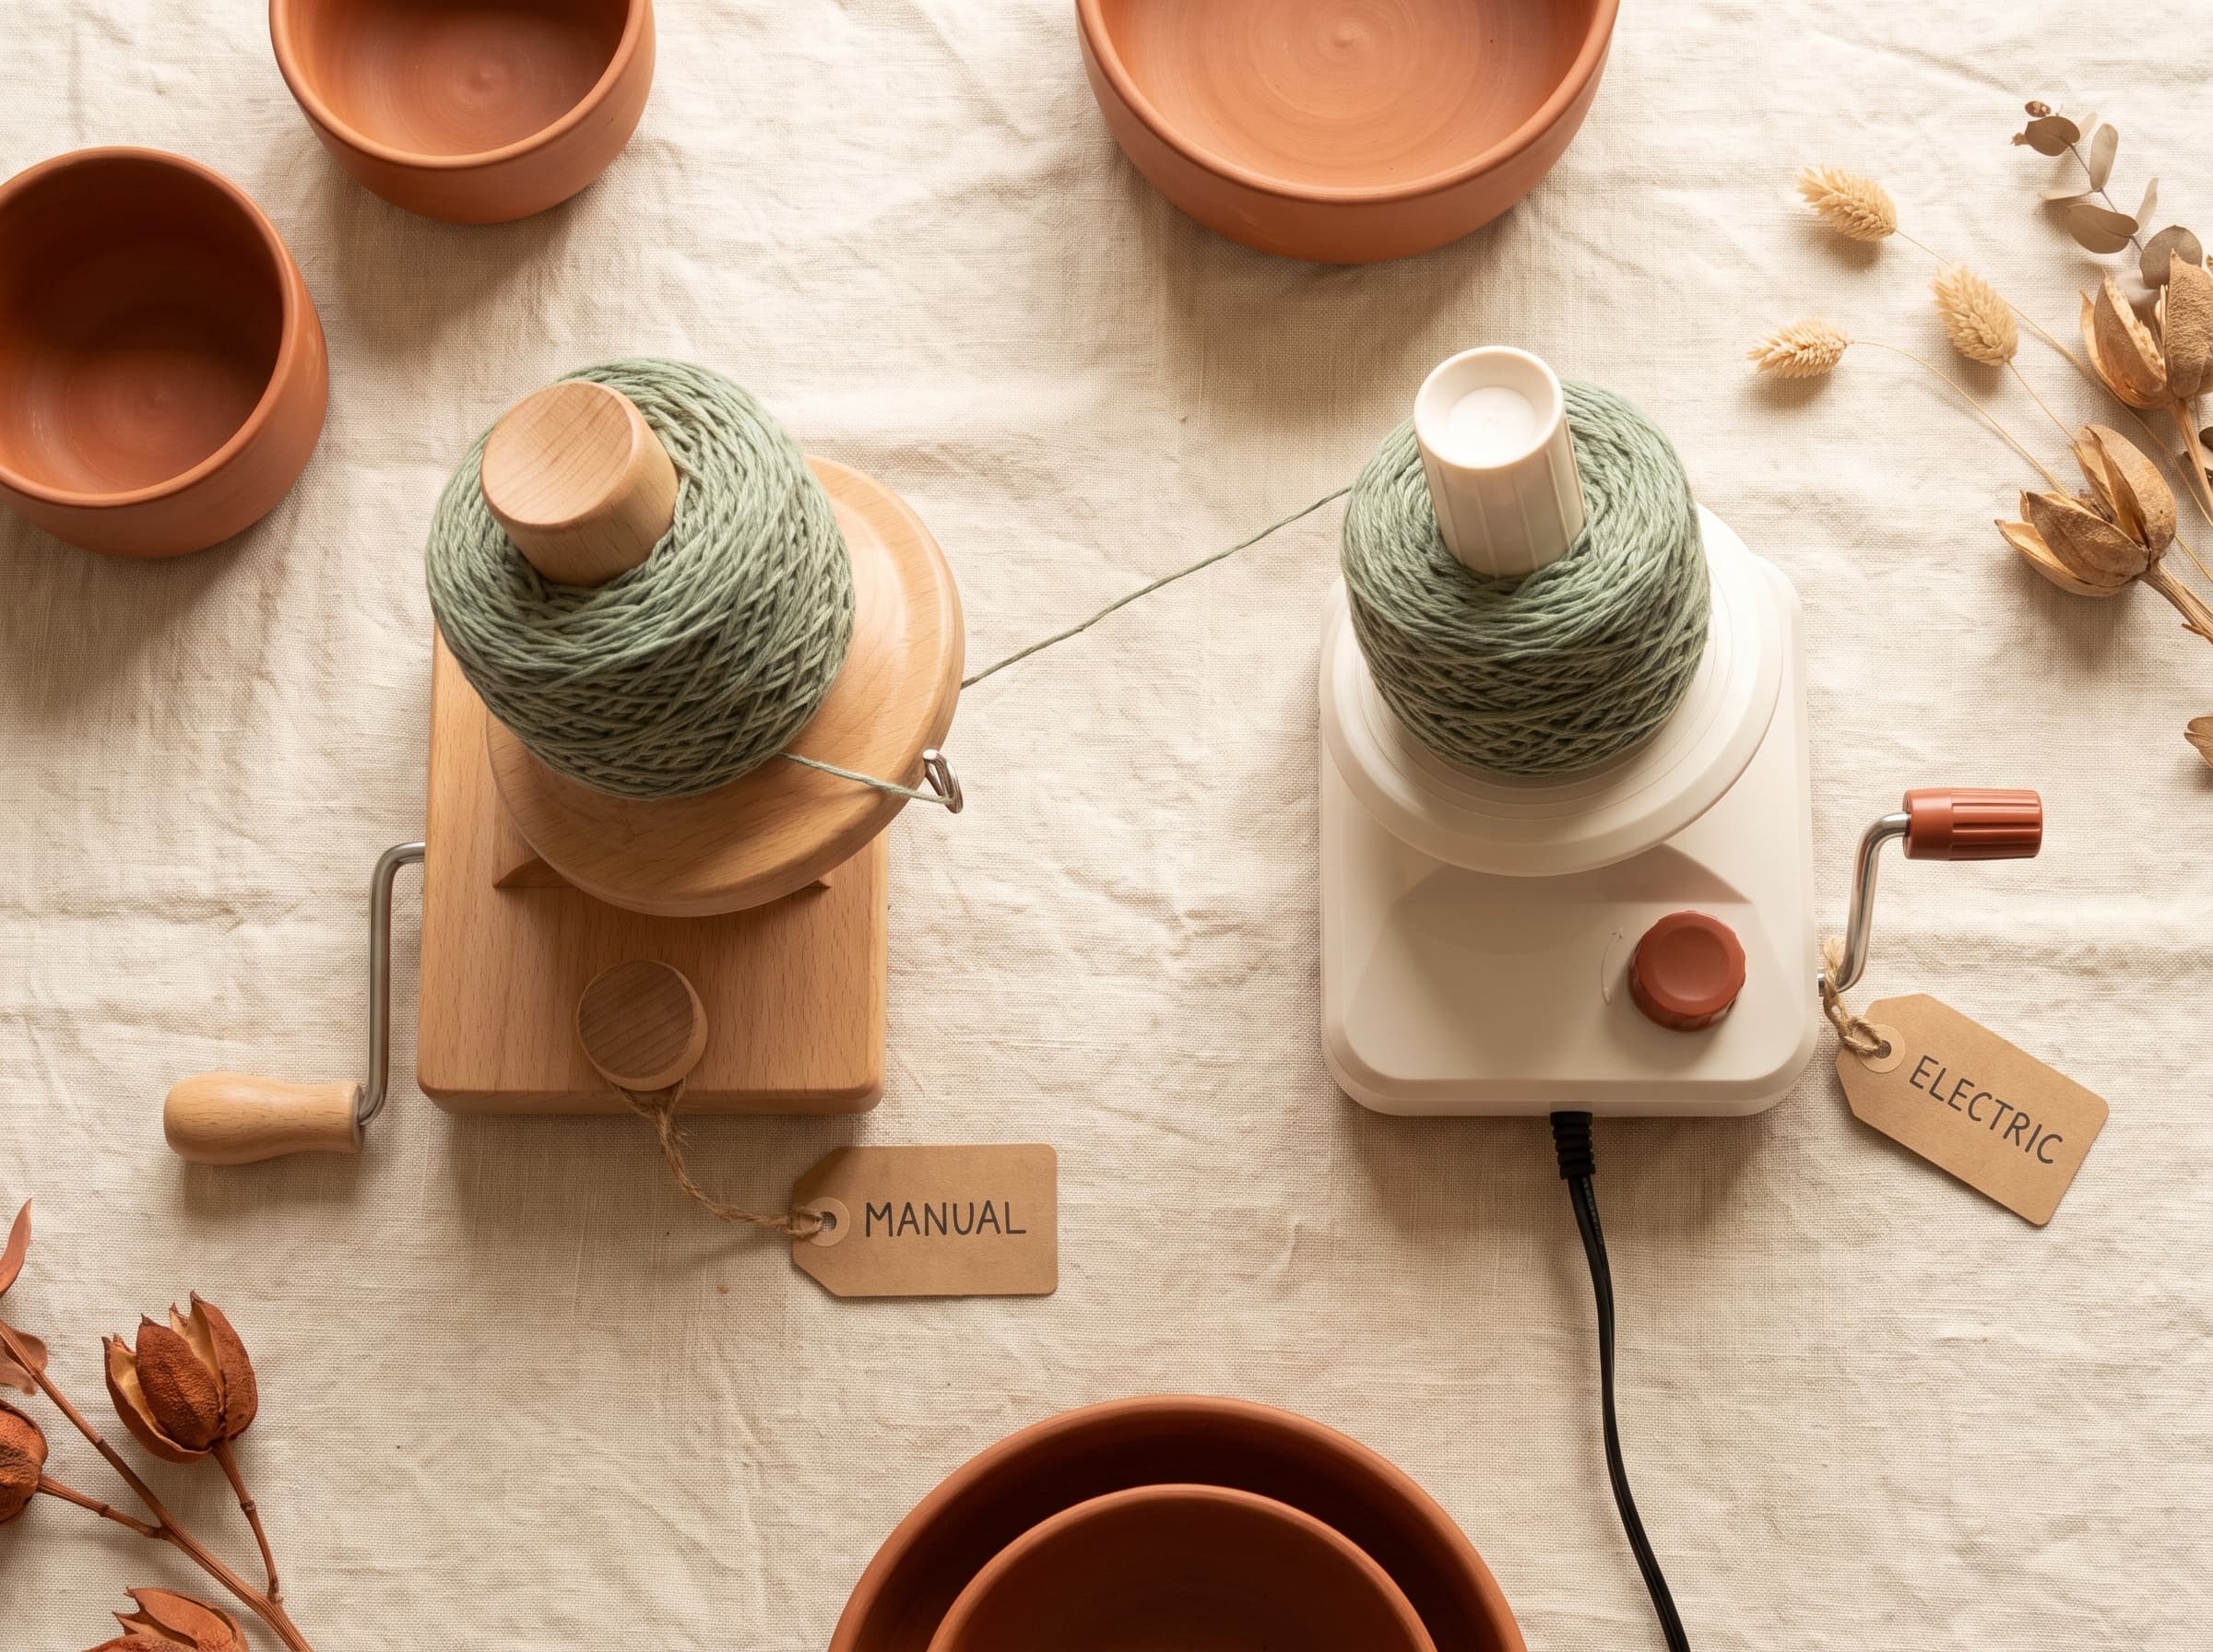
Two main types, and the right one comes down to how much yarn you wind. Here's the quick comparison:
| Manual (hand-crank) | Electric | |
|---|---|---|
| Price | Cheaper | Pricier |
| Speed | Fine for occasional use | Fast, hands-free |
| Best for | Most crocheters, small stashes | Frequent winders, sellers, big stashes |
| Yarn capacity | Smaller cakes (often ~100–200g) | Larger cakes |
| Effort | You crank | Push a button |
What to look for when buying a yarn winder
They're mostly inexpensive, so you don't need to overthink it, but a few things separate a winder you'll love from one that frustrates you:
- Yarn capacity — check how many grams it holds (a common one handles ~100–150g; bigger models take a full skein or more). Buy for the size cakes you actually make.
- A sturdy clamp — this is the big one. A winder that grips the table firmly winds smooth, even cakes. A weak clamp wobbles and makes a mess.
- A smooth tension arm/guide — keeps the yarn even as it feeds. Look for one that guides the yarn without snagging.
- Solid build — metal parts and a stable base last far longer than flimsy all-plastic ones, especially where the crank meets the body.
- Easy setup — bonus points if it clamps and threads quickly without a fight.
Choosing the right yarn winder for you
You don't need an expensive winder to get great cakes, and the “best” one really just depends on how much you wind. Here's simple guidance to point you to the right type without overthinking it:
- For most crocheters → a mid-capacity manual winder. Affordable, reliable, and handles everyday winding easily. The right call for the vast majority of hobbyists. Look for a solid clamp and a smooth tension arm (see above).
- On a tight budget → a basic manual winder. Smaller cakes and a lighter build, but perfectly fine for taming the occasional hank.
- Winding big or heavy yarn → a large-capacity manual winder. Wind a full skein (or more) into a single cake without splitting it.
- Winding constantly (selling, dyeing) → an electric winder. Hands-free at the push of a button. Only worth the extra cost if you wind a lot.
We'll add specific product recommendations here soon. In the meantime, use the buying checklist above, prioritize a sturdy clamp above all, and you'll do great with almost any well-reviewed winder.
Common yarn winding mistakes (and how to avoid them)
A few small slip-ups can turn a smooth wind into a tangled mess. Dodge these and you'll get a clean cake every time.
The most common one. Tight winding stretches your yarn and it stays stretched, losing its bounce. Fix: keep gentle, even tension — snug, not strained.
If the winder isn't gripping the table firmly, your cake winds uneven and can collapse. Fix: clamp it down hard to a sturdy surface before you start.
Speeding through it makes the yarn jump, skip the guide, or tangle. Fix: turn at a steady, relaxed pace and let the yarn feed itself.
Feeding yarn straight onto the spindle without running it through the guide gives a loose, sloppy cake. Fix: always thread it through the tension arm first.
Cramming more than the winder holds makes a lumpy cake that won't pull cleanly. Fix: know your winder's capacity and split big skeins into two cakes if needed.
Related tool guides
Frequently asked questions
More crochet guides you'll like
Crochet Hook Sizes Chart (mm, US & UK Conversions)
The full hook size chart with every mm/US/UK conversion, plus which hook to use for each yarn weight.
Crochet Tools, Hooks & Yarn: A Beginner's Buyer Guide
The few supplies you actually need to start — hooks, yarn, and notions, with charts and a budget.
Crochet Stitches: A Complete Visual Guide
Every crochet stitch with photo tutorials, from single crochet to bobble, moss, and Tunisian.